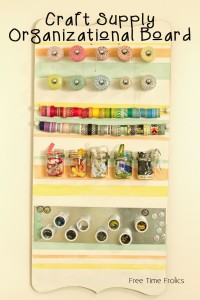
I desperately needed a way to organize my most used supplies. As a Craft/ Sewing blogger I can be a bit of a hoarder. You just never know when you are going to need something. Or you have to have twine in every color! So I came up with this beauty. It is functional, adorable and super easy to make. I did have to call on my neighbor to borrow a saw but you could just make is a rectangle too and it would be awesome!
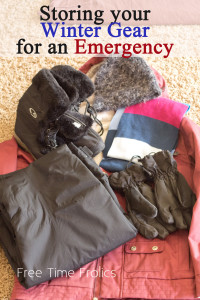
Storing your Winter Gear for an Emergency

Spring is just around the corner and that means 2 of my favorite things happen.
1. Winter Gear gets put away and my mud room stays clean and 2. Sock matching goes out the window because we wear sandals! Yeah for Spring!!
Instead of just putting away our winter gear I get it ready for an emergency. Living here in Idaho, even in the summer we can have some cold nights. So if we were to ever have an emergency we would most likely need our winter gear to keep warm. So I have my own way of keeping my winter gear together during the summer months just in case.
At the end of every spring I wash and dry everything. I set them out for an extra day or two to make sure they are very dry. You don’t want mold growing in your gear!.
Next make sure you have everything you need.
Here is my list:
Coat
Snow pants or bibs
Gloves
Scarf
Beanie or hat
Snow boots
Heavy socks
(If you keep socks in your 72 hour kit you can omit them from this kit!)
Ear muffs opt.
If you buy a year ahead with coats and boots pack those. If you don’t, pack what you have.When an emergency comes around anything is better than nothing. Folding and packing your gear can be tough. especially if you have lots of kids.I try to make mine as compact as possible. Here is what I do.

Lay your coat out with the Zipper open.
1. Place hat, ear warmer and socks in pockets of the coat.
2. Tuck your scarf through both arms with an end out each hole.
3. Place gloves in arms of coat. One on each side.
4. Fold your pants into thirds and lay inside your coat. Zip your coat up.
5. Fold arms in to center of coat.
6. Fold coat in half from bottom to top.
Using a Rubbermaid bin Place all boots on the bottom. If you have lots of kids you may need two buckets.
One for boot and one for gear.
Lay coats flat on top of boots
Once all coats are inside. add your lid and store for the summer.
In an emergency you can grab the bucket and throw it in your car.
Another great thing about this method is when school starts again and the first snow sneaks up on us. You can head out to the garage and your gear is clean and ready to wear!

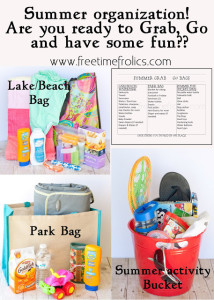
Summer Grab & Go Bags! Are you ready?


Are you enjoying the 31 days of Summer Fun? There are so many great activities! Today I am sharing my Summer Grab and Go Bags! This is my way to be a little more organized this summer and have fun with my kids without all the stress! I only get 18 summers with them. I so I need to make them count. So I introduce to your my Summer Grab and Go Bags!
Are you ready for summer? My kids have 2 weeks left of school. With summer getting ready to make its entrance I am trying to get prepared and ready. No sitting around the house for my kiddos. (Okay so we may have a few lazy days this summer, that’s what it’s for right?) I like to think I am organized. In reality I am organized in some things and not others. When it comes to preparedness I am pretty good. So this summer I am going to be ready to go on a whim.
We frequently get calls from friends to go do fun things in the summer. The conversations usually go like this.
(Her) “Hey we are going to the lake, want to come?
(Me)Sure, when you leaving?
(Her)In 20 minutes……
(Me) Ummmm Okay…..
(I say this while still sitting in my PJ’s or work out clothes.)
So what do you do? For me it’s a chance to get out of the house and unplugged for the day. You have to take the opportunity, right? So here is what I do!
Have a Grab & Go bag! I have one for the Lake/ beach and one for the park.
Want to see what I put in my bags? Well today is your lucky day! Here we go!
Swim Bag-

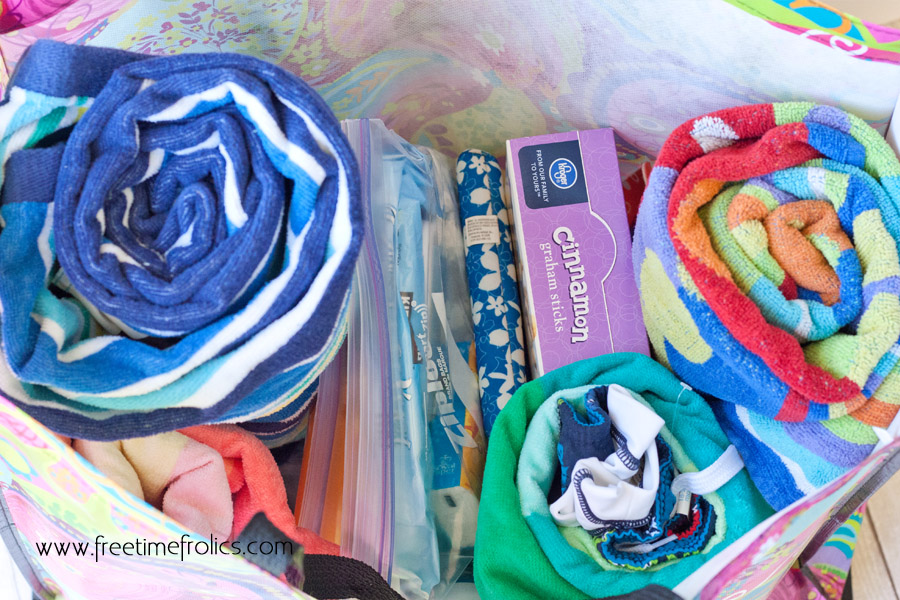
TJ Maxx Bag, Swim suits, towels, sunscreen, water bottles, snacks, pocket first aid kit, baby powder (to remove sand from feet), sand toys, toiletries, diapers, wipes, swim diapers all wrapped up and tucked in a bag. I also include a plastic grocery sack in my bag for garbage.
You may need to add a few things to yours. I try to keep my kids goggles and cover up as well.
Park bag-
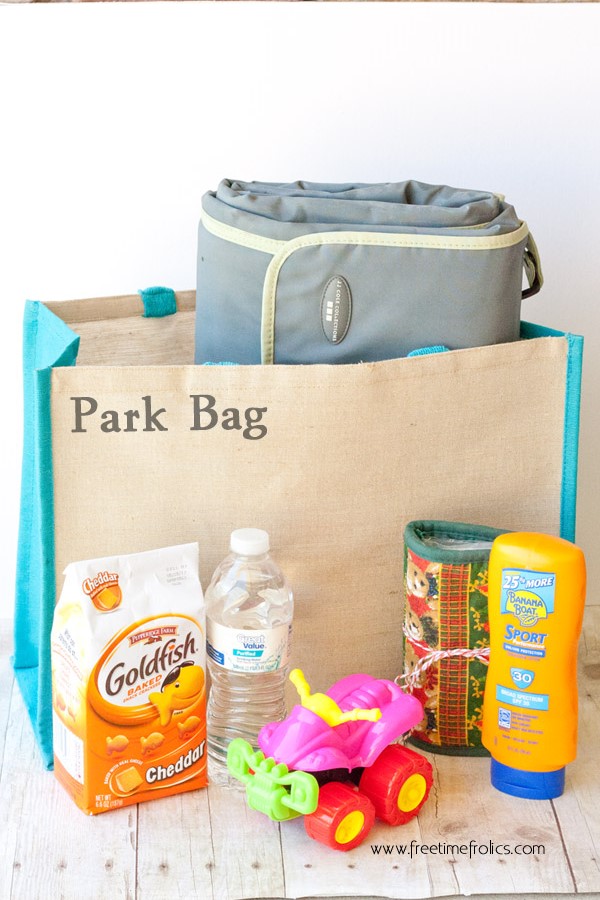

sunscreen, first aid kit, water bottles, snacks, Frisbee or ball, sand toy, blanket and a plastic bag for garbage.
You may have a few more items you need or don’t need from my list. I add 2 diapers and a small bag of wipes for my baby.
Summer Fun Bucket-

Any outside toys your kids would love that are age appropriate. I like to give them to my kids on there last day of school. Here are a few my kids love.
Frisbee, football, round ball, bubbles, bug catchers, chalk, sunglasses, hat, water bottle, sand toys, water toys, squirt gun, water balloons, sponge water balls
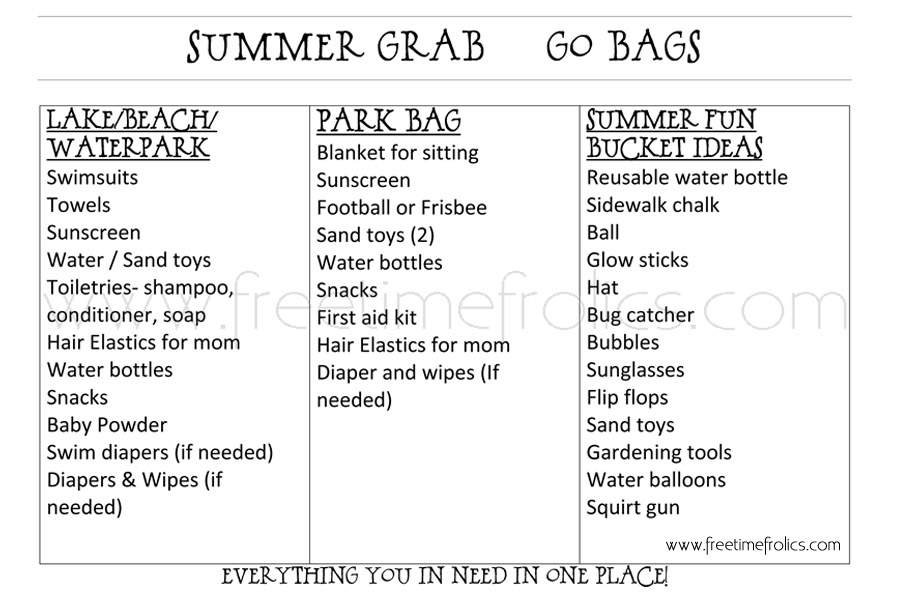
Get a printable list {Here!}
I hope you have a blast this summer! Try to enjoy every moment your can with your kids. You only get 18 summers with them. Make each on count!
Here are a few more ways to get organized this summer.

Want to see more fun summer activities to do with your kids? Check out the links below!


document.write(‘
Royal Design Studio Stencil Review & Closet Makeover
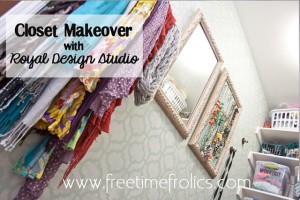

A closet Makeover is just what I need! These past few weeks have been crazy busy for me. My kids have been out of school for spring break and that alone makes life crazy. I have had an itch to work on my closet. It is crazy unorganized, dark and blah. It is huge and can fit 2 full sized mattresses end to end. Let me also say “I am a blogger and I am unorganized”. There I said it. I may need an 8 step program or something. I am a blogger and I am unorganized. My house is rarely tidy. I have 4 kids and projects to do. Much more fun than walking around with a dish cloth in my hand all ..day…long. Bless those of you who do. I am just not that type of person. I would like to be but not enough to give up what makes me happy! So onto my unorganized closet… and a giveaway!
My closet was, well, out of control. The lights did not work. Just cheap contactor lights. To many clothes. I have been hoarding them since I got pregnant (3 years ago). You know wishing, hoping & praying that someday I would fit into them again. And a bunch of other things that don’t belong in a closet. I just decided that it was time to purge the old stuff. I was inspired by this E-book to get my fashion on. Here. And Royal Design Studio stencil to make my closet beautiful.
Here is a picture of my closet before. I had to use a flash due to a broken light fixture.

See how crazy it was! I really needed an intervention.
Royal Design Studio graciously sent me a Stencil to try out. They have tons of choices. One for every style. You will get lost in all the patterns they have. Here is the one I picked:
Casbah Trellis Moroccan Stencil from the Allover Moroccan Stencils Collection… I have been in love with this stencil for along time. I love its simplicity.
I started with painting my wall with an all over mint color from Lowes. I used Lowes white for the stenciled color. I used one of there sample cans for the white. I had plenty to spare. It was delivered lighting fast. Only 4 days and it was knocking at my door. The stencil was much larger than I thought. Which I was grateful for. I had a big wall to cover! It came rolled up in a large box ready to use. The instruction sheet included was very helpful to me. It included tricks and information on using there stencils. I also checked out there HowTo Stencil on there website. The stencil was made of thick flexible plastic and was very light weight. Definitely a quality product. Made to be reused.

I started along the top of wall and worked my way down and across. Matching up the edges. I used painters tape to hang my stencil. I wish I would have gotten the spray adhesive to hold my stencil on the wall. It still turned out great but having the adhesive would have been nice. Isn’t this stencil beautiful. This picture, taken from my phone, it’s a little grainy. (Sorry) I used a small rolling foam brush to roll on the stencil. Some places are lighter than others. I love it that way. It gives it a weathered look. It is very subtle on the wall but packs a punch. Over all it was simple to use. After each section I used a wet rag to wipe the back of the stencil for any residual paint. My stencil is still in great condition and ready to use again. Maybe another project in the future???
So here is my finished closet. I am in love with the stencil. At first you almost think its wallpaper. Until you are up close. I decided to go with an accessory wall. I had 2 matching frames made. One for a mirror and one for a peg board to hold my necklaces. I also used a bathroom towel rod for my scarves and 2 cabinet knobs for hanging purses.

Isn’t it amazing?! I cleaned out 3 garbage bags worth of clothing. Got rid of the things that just don’t belong. I got a new light fixture at Lowes. Along with some wicked amazing daylight light bulbs


For my bins I got them at Wal-Mart for $5 each. I used my Silhouette to label the bins according to what am keeping in them. Just in case my husband decides to do laundry. He will know where everything goes.


I love My closet makeover so much I just want to sit on the floor of my closet and listen to music as I enjoy the beauty. Here is my view from the floor!

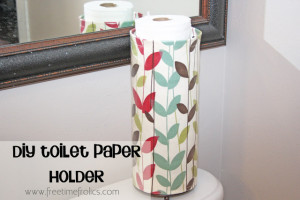
Let’s talk toilet paper holder covers…
So tell me if this is you. You go to the bathroom for a self imposed time out. You should have been put in time out and hour ago, but alas the kids wouldn’t allow it. You finally get your time out and you realize part way through you are out of toilet paper. Sound familiar??? Then you have to all to one of your kids…to interrupt you time out to bring you some toilet paper. Well your quiet time out is over..
This is a weekly problem at my house. My Master Bath is about the only place I get a little quiet during the day. Maybe 5 minutes a few times a day.
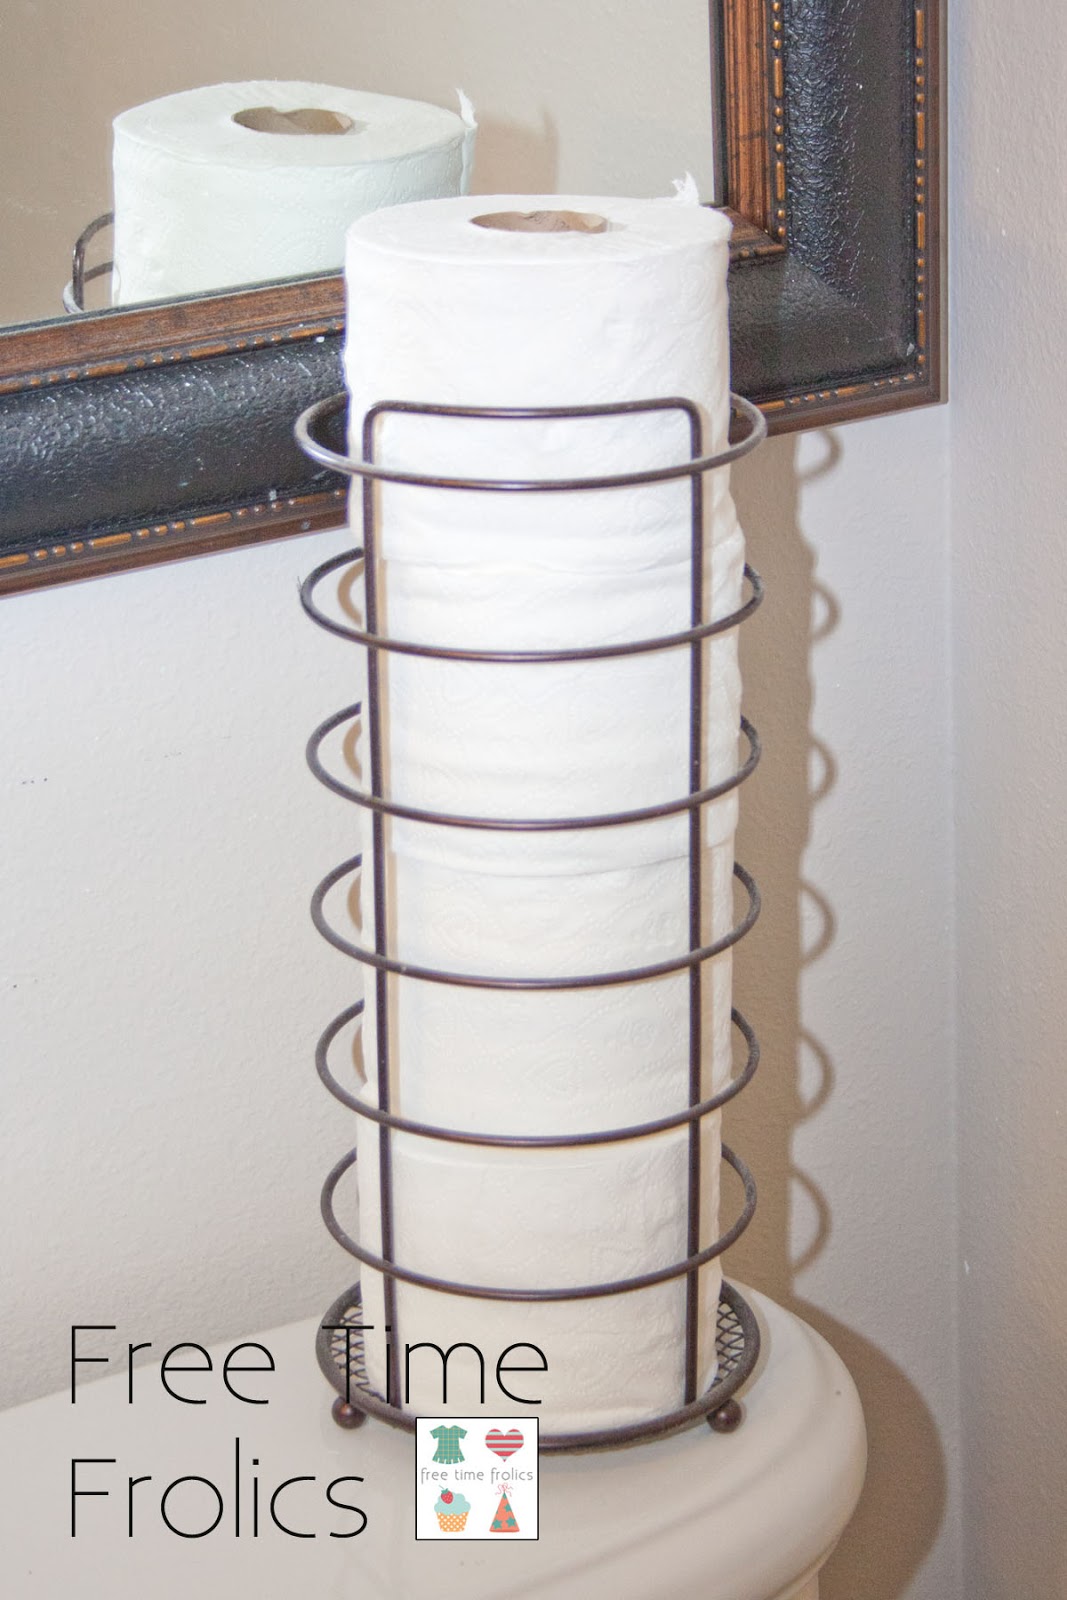
So one day I was perusing my local Ross and found this… A toilet paper holder tower.

An answer to my problem. But it created a new problem. Every once in a while a boy uses my Master Bath. And sometime their aim isn’t so great. Can you see my problem?? I kind of have issues. Its like not lifting the toilet seat or not putting it down. Just plain gross. ( I have a printable for that issue click here)
So I came up with this quick and easy project to remedy the problem.
First you need to pick up a few things:
Toilet paper holder ( I got mine at Ross for under $10)
Decorator fabric to match you bathroom.
Iron on laminate for fabrics I found mine at Walmart
Measure you circumference of your Toilet paper holder and add 1 inch.Measure from top to bottom and add 2 inches.

Cut according to size.
If you are using laminate cover fabric move to the next step. If you are making your own follow the instructions that come with your laminate.

Stitch down your long seam. Ensure it fits around your holder before moving to the next step. Also you don’t want it to tights. It may stretch you fabric and tear the laminate.
Fold over top seam 1/2 inch then another 1/2 inch. Stitch into place. Repeat for the bottom.
Before After

Slide it over the top and your finished.

Command Center {Chore Cards}
While building my command center I thought “What is a command center with out chore cards for the kiddos?” They were very simple to make and my kids like to use them. It takes the guess work out of what is expected when doing chores.

I started buy making my chore cards in Microsoft Word. {Really advanced I know.} I made 4 to a page. I tried to make the card lists in logical order of the chore being done. Here is an example.
Bathroom:
clean mirror
clear & wipe counter
scrub toilet & wipe down toilet bowl
sweep floor
mope floor
take out trash
I teach my kids to start with the mirror and end with the floor so they only need to use 1 cleaning towel.
My boys have a group of chores that they do each week. Then they switch on Monday Mornings. These chores include dishes (load and put away), vacuuming, bathrooms and garbage. Some are done everyday and others are once a week. It just depends on the chore. I also included a check list for their bedroom. Just in case they have a question on what needs to be cleaned.
If you would like to print my chore cards for your kids please do. I printed mine in 2 different colors so my boys don’t get confused who’s chores are done. Click on the link for a printable copy.
Chore Card 1 Chore Card 2 Chore Card 3
Next I cut them up and laminated them. This makes it so your kids can check off the chore with a dry erase marker when they get their chores done. It always feels good to check off a finished chore. It also makes it easy for Dad to check that chores are done!
Many of my chores come from a book called the Parenting Breakthrough by Merrilee Boyack. She is the amazing mother of 4 boys. If you ever wonder when your kids should start certain chores, which chores or how much to pay for chores, this book has the answers for you. I love this book to reference as my kids grow up. You will not be disappointed.
Parenting Breakthrough on Amazon
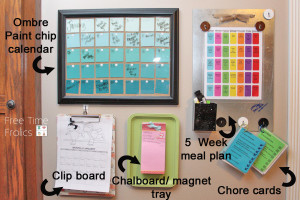
Here is another look at my command center center. The links are below if you want to check them out. For more information on my 5 week meal plan (Yes I plan for 5 weeks, My life is so much easier) please see the link below. I even shared how I do it on a local lifestyle show, KPVI.

For more about my command center check out these links.
Command center
5 Week Meal Rotation Plan
Thanks for visiting. If you have any questions about how I did it please feel free to send me an email or comment. Be sure I can write you back!!


Check out the entire post on my blog www.freetimefrolics.com
Command Center {My Style}
After a few crazy unorganized months (not all bloggers are super organized), I decided it was time to jump on the command center bandwagon. My schedule seems to have spun out of control. Sick kids, Holidays, sports and school activities. So many things a mom must do to keep a happy family. I have an amazing mudroom in my home. iron board, floor to ceiling lockers for the kids, wash basin and 1/2 bath. I didn’t have a lot of wall space to work with and there are so many cool command centers out there. This one seems to work best for me.


For my clip board calendar I took a wood clip board and modge podged a piece of pretty paper onto it. This is a calendar just for my kids to document their reading for the month. If they reach there goal they get a special outing with dad.
For the magnetic chalkboard I used this tutorial from My Sister’s Suitcase {Here}

Chore Cards

Paint chip calendar

What is your must have in a command center??
Stay tuned this week for tutorials o how I did it. First up 5 week meal plan!

Check out the entire post on my blog www.freetimefrolics.com