I have been sitting on this project for a while now. It is finally time to post about my easy DIY chalkboard bean bag toss.
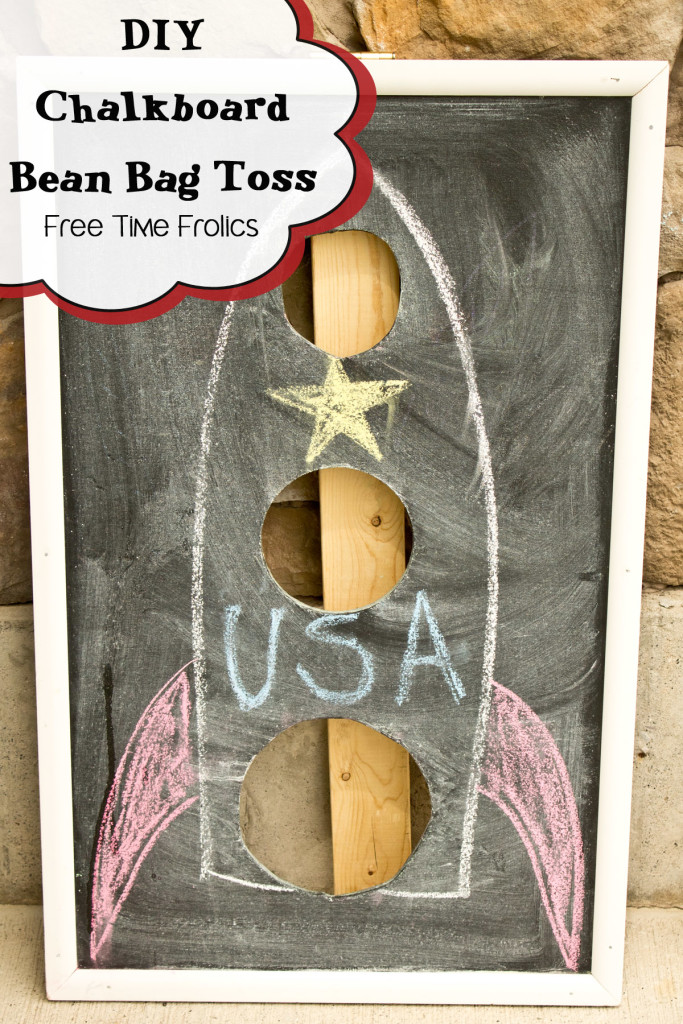
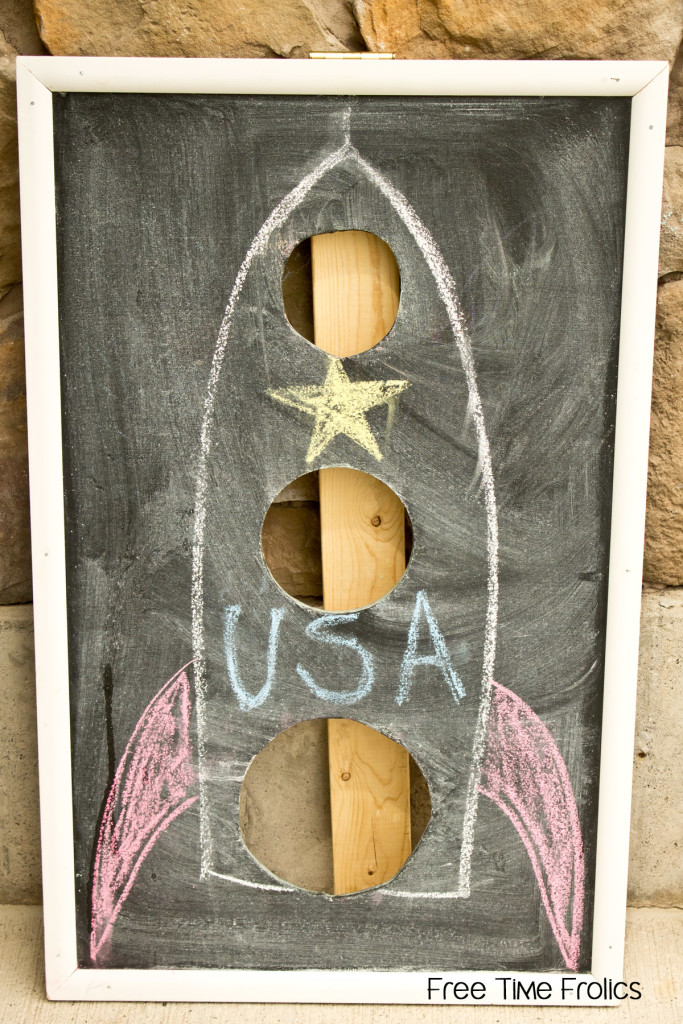
A while back my son needed to finish a scout project, a ward party and school carnival. I decided all of these things needed to converge so I could kill three birds with one stone. And so was born the Chalkboard Bean bag toss! I can use it for any holiday, classroom or party. Just add chalk!
I looked online for a couple of ideas but decided to go with my own. My 10 year old had to learn to use a jigsaw for Boy Scouts so we asked a neighbor if he would teach him by cutting the holes for the board.
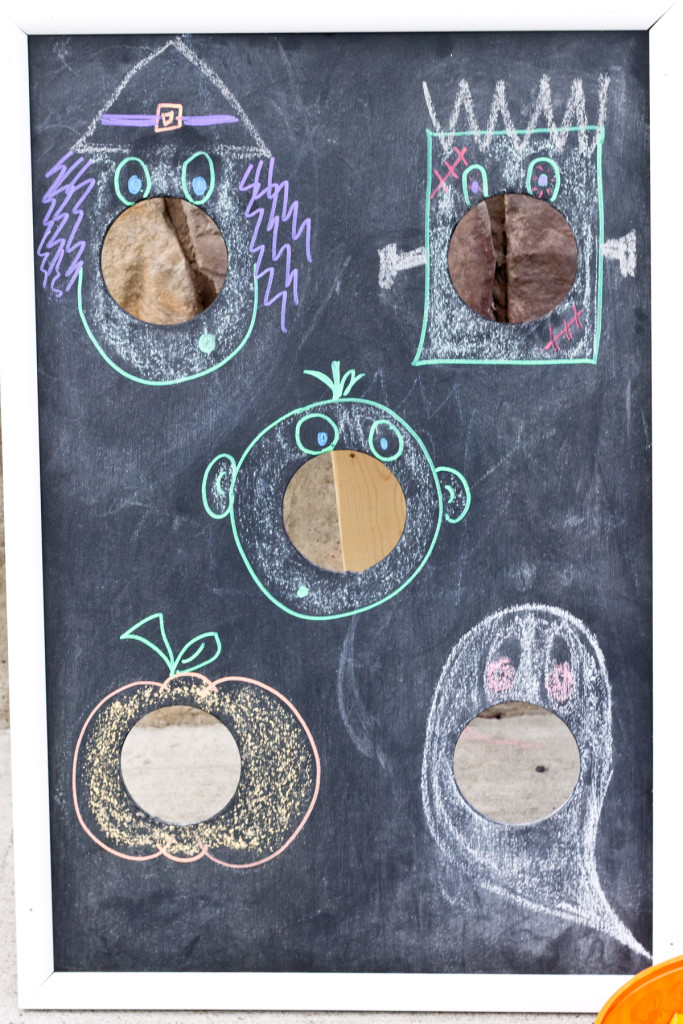
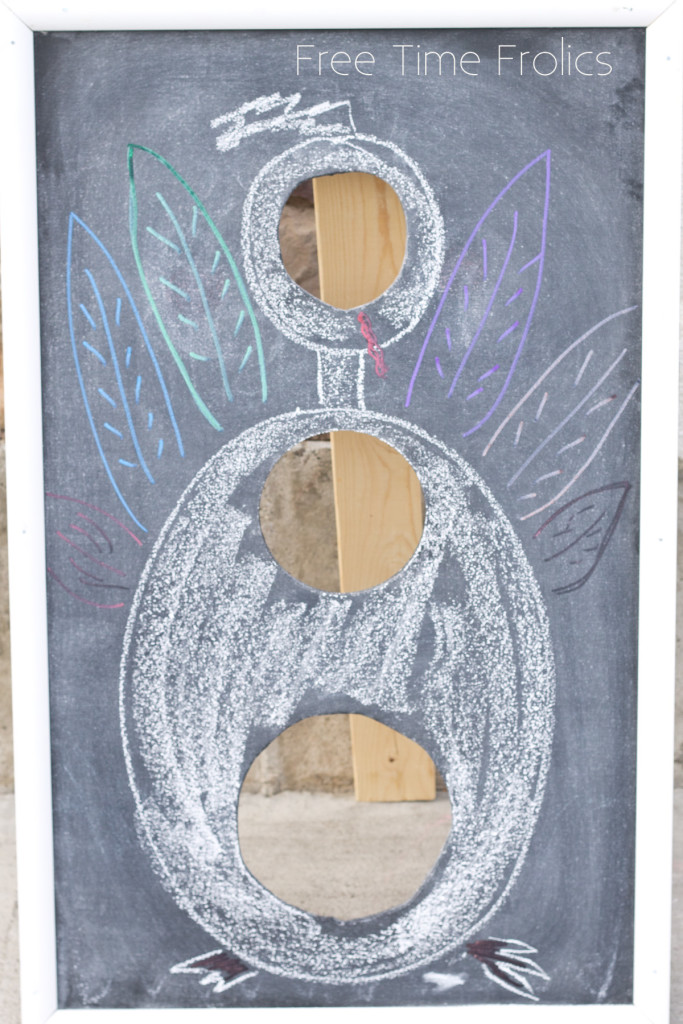
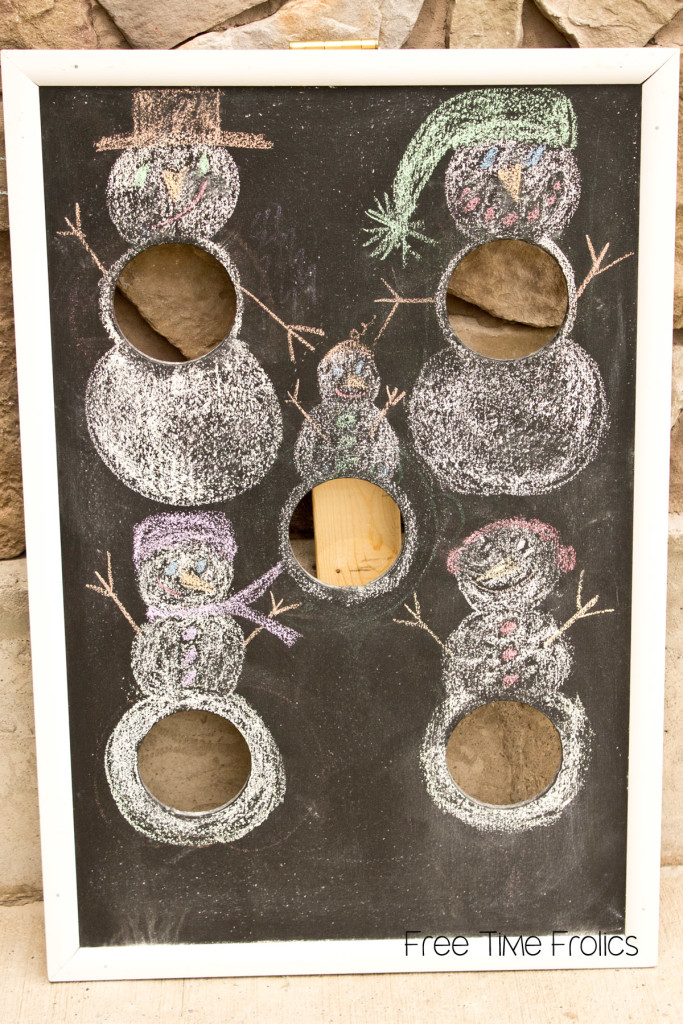
I made two boards. One with 5 hole 3 1/2 inches in diameter and the other with 3 holes in 3 sizes.
After cutting them I painted the boards with chalkboard paint I picked up at Lowes. It was $10 for a small can. I only used about 1/4 of the can for both boards.
Let the paint dry between coats for about 1 hour. I did about 3 coats.
You can use other chalkboard paints but I have found you use less coats when you use a quality paint from your local hardware store.
Let it cure for 24 hours.
After curing take a piece of chalk and rub chalk all over the board. Wipe it off with a dry rag and rub the chalk around. This helps to set the paint and when you draw you won’t leave behind the first things you wrote. Be sure if you use chalk markers and have to clean your board with a wet towel to redo the chalk rub all over to keep your board working properly.
You are ready to draw! Add your favorite pictures or theme and you are ready to go! This is perfect for a classroom party at school, school carnival or party.Here are a few ideas I came up with.
To make mine a little more crafty. I added a small white frame and kick stand on the back with a piece of wood and hinge.
(Visited 705 times, 1 visits today)
