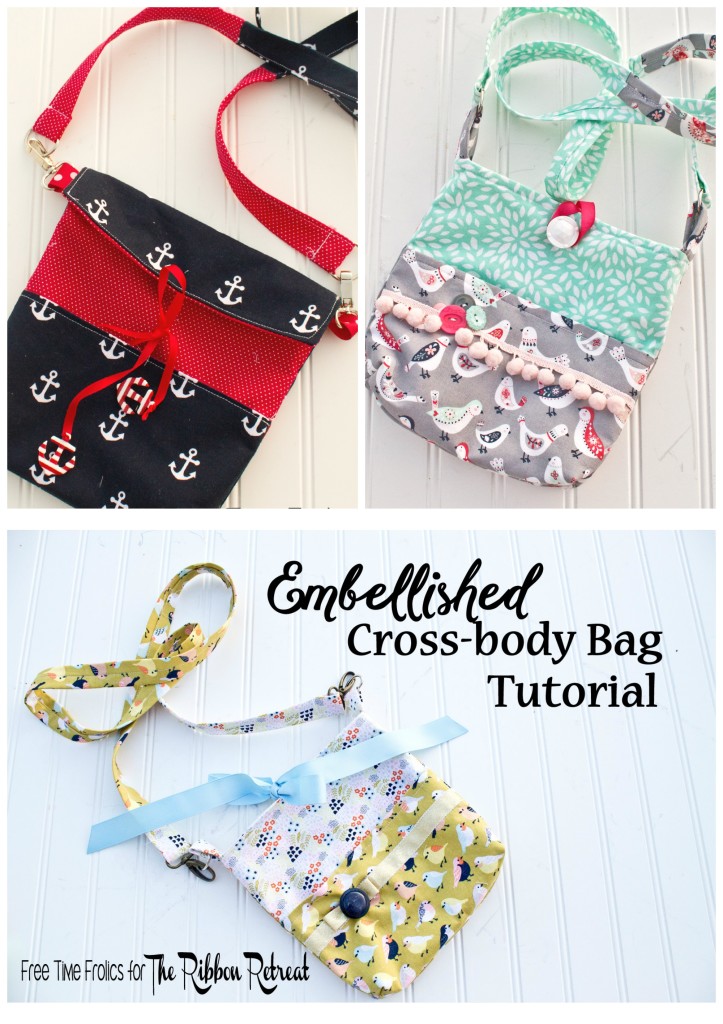
Last summer I taught sewing classes to some girls in my neighborhood. One of the projects was a simple cross body bag they could use to go to the mall or carry on vacation. The girls sewed them up in about 2 hours. A perfect project for a new seamstress. To make it a little more personal I love to add embellishments to make it my own. Buttons, fringe, ribbon whatever you want. I made this tutorial for the Ribbon Retreat, my favorite place to buy all of my embellishments!
Here is what you need to get started.
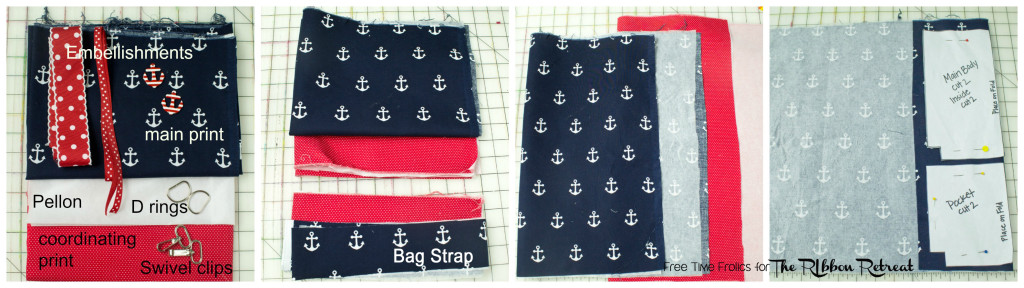
Cross Body Bag Supplies
1/2 yard main fabric ( all fabrics are from Hobby Lobby)
1/2 yard coordinating fabric
1 yard ribbon (I used blue, gold, red dots)
1/2 yard trim (polka dot fringe)
2 “D” Rings
1 yard iron in pellon
- wash and press your fabric.
- Fold fabric in half and cut a 2 inch wide length to be used for the strap.
- Cut your main and coordinating fabric in half. Making pieces 16 x 22.
- Iron in Pellon to both fabrics.
- Fold fabrics to place pattern piece on fold. Be sure to only fold what you need so you don’t waist fabric. You will need every bit. Cut out pieces.
- Take both pocket pieces and place them Right sides together (RST). Stitch across the long edge.
- Open and press. Now you get to add a few embellishments.
- If you are adding pom fringe, ribbon or any other fringe pin it to the outside fabric of the pocket or bag. Stitch into place.
- If you are adding the messenger flap, matching fabrics, stitch one to a lining and one to an outer lining. Be sure When you sandwich your layers together be sure they are sewn to a non messenger flap layer.
- Take your take one lining, pocket and one outside and sandwich them together. Layer them inside piece, pocket and then outer piece layed on top RST.
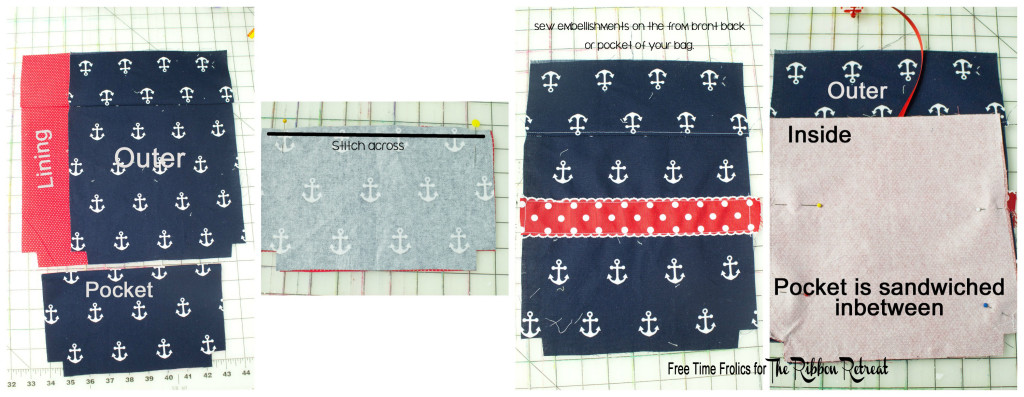
- Stitch down the sides. and across the bottom of the outside of the bag. For the inside of the bag stitch down the sides and 2 inches on each side of the bottom. Leaving hole in the center for turning.
- To make your corner gusset you will need to find your cut out corners. I use a seam ripper or finger to find it.
- Then fold your corner to create a triangle of sorts, bringing the inside seams together. Pin into place.
- Once your seams are matched up stitch across in s straight line. Repeat for your inside layer.
- Turn your inside layer to Right sides out.

- Place one bag layer inside the other with RST.
- Pin layers together matching up all lines.
- To add lobster clips take fabric or ribbon and thread through. Pin into place on the side seams.
- Once lobster claws are pinned into place. stitch around row edge.
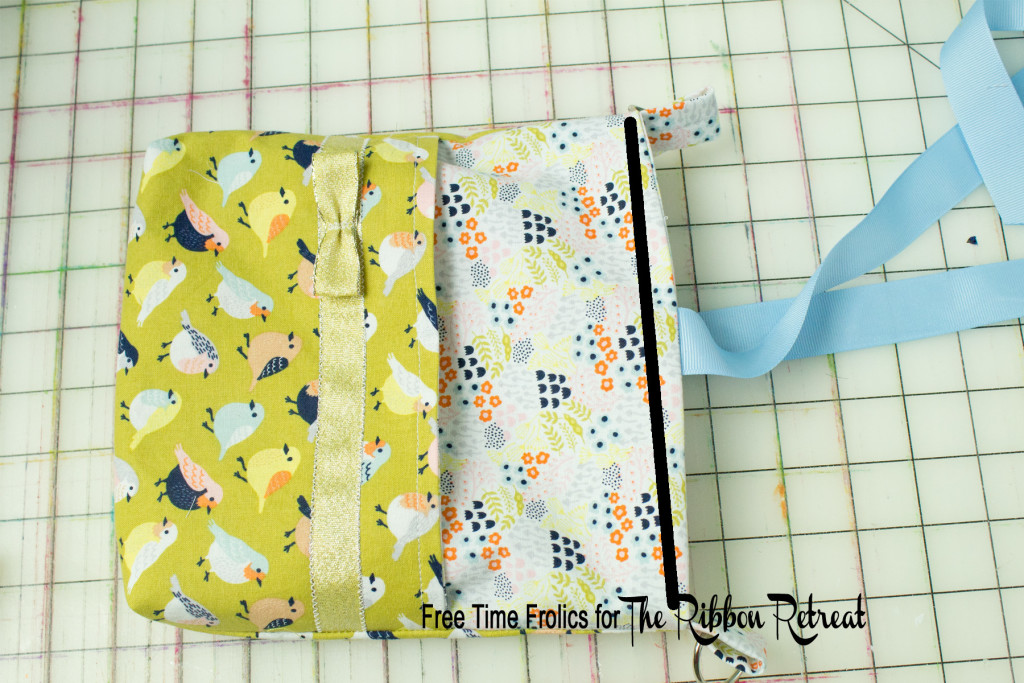
- Also if you are adding a ribbon to tie your bag closed, add yoru ribbon tie to the center of yoru bag before stitching it closed.

- Using the hole at the bottom of the lining turn bag Right sides out.
- Tuck the lining back into the bag.
- Press seams and top stitch around the opening of the bag.the bag strap
- To make your strap you will take you cut 2 x 45 inch strip you cut in the first step. Iron on pellon to the inside of the trap.
- Fol one edge in 1/2 inch and press. Take the raw edge and fold in 1/4 inch and press. Then fold the same edge another 1/4 or so inch over to overlap on the 1/2 fol of the opposing side.
- Stitch down the center.
- Take you “D” rings and loop your bag strap through the ring and pin it to itself. Stitch it into place.
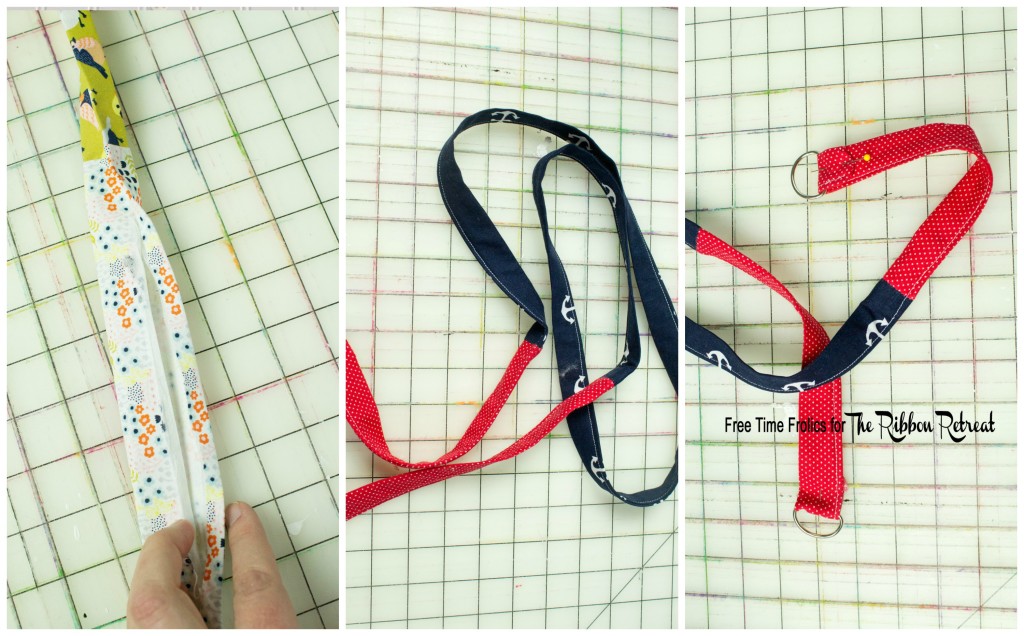 Clip your strap to your bag and go!
 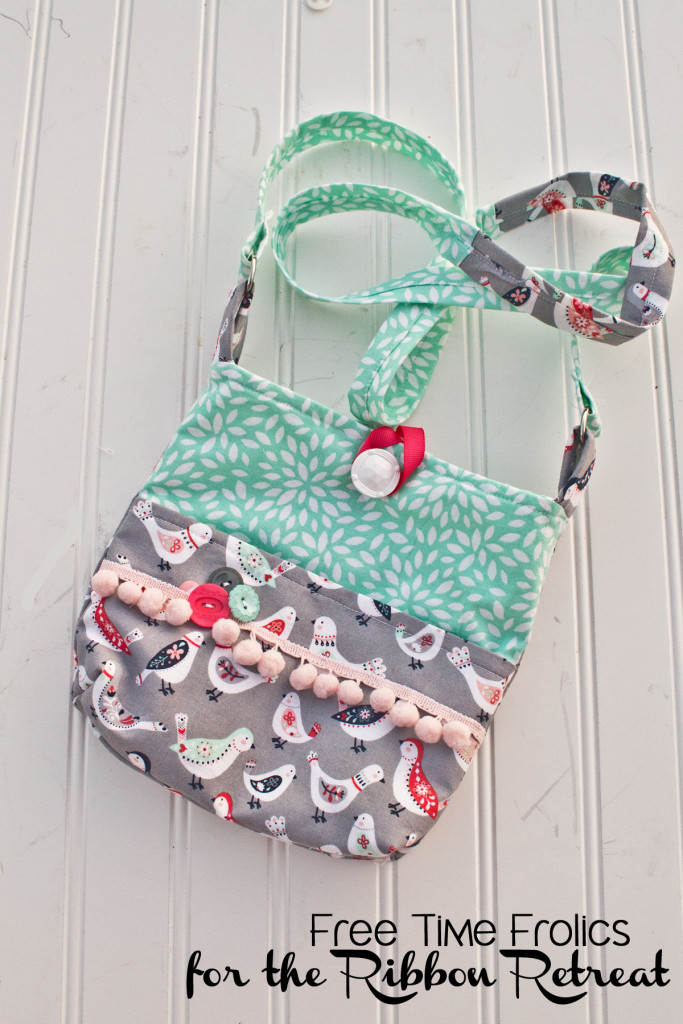 I stitched some random buttons in a cluster to give this bag a little something to look at. I think they look adorable with the pom fringe. It’s all about the extras.
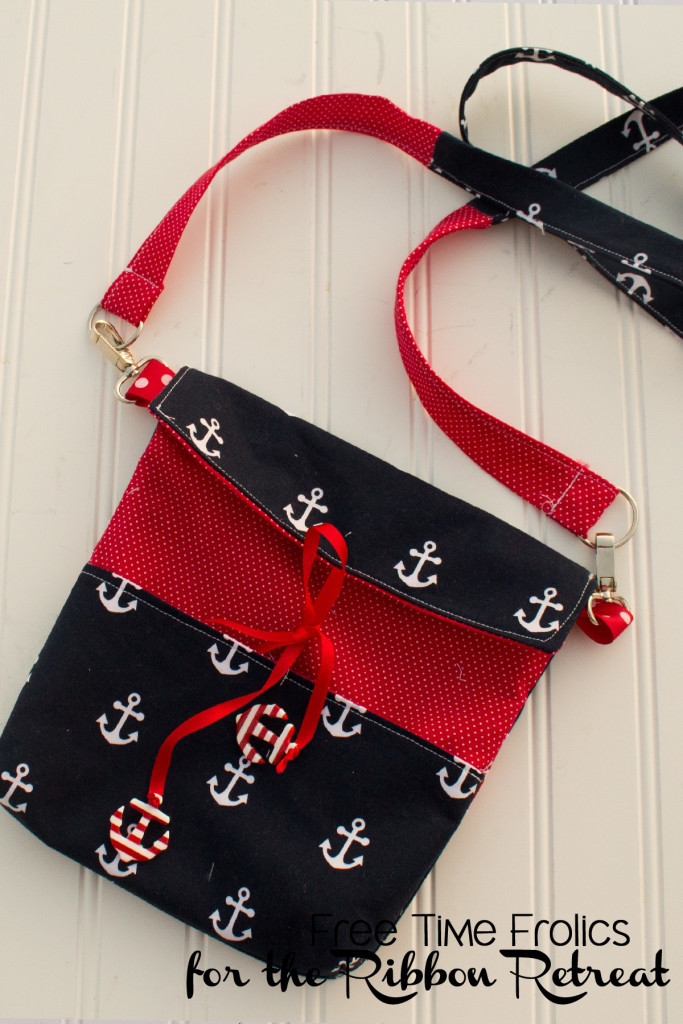 For my anchor bag the ribbon retreat had these adorable striped anchor buttons. I used the smallest red ribbon for my bag ties and threaded the ribbon through the anchors so they were like little tassels. I love them!!