So tell me if this is you. You go to the bathroom for a self imposed time out. You should have been put in time out and hour ago, but alas the kids wouldn’t allow it. You finally get your time out and you realize part way through you are out of toilet paper. Sound familiar??? Then you have to all to one of your kids…to interrupt you time out to bring you some toilet paper. Well your quiet time out is over..
This is a weekly problem at my house. My Master Bath is about the only place I get a little quiet during the day. Maybe 5 minutes a few times a day.
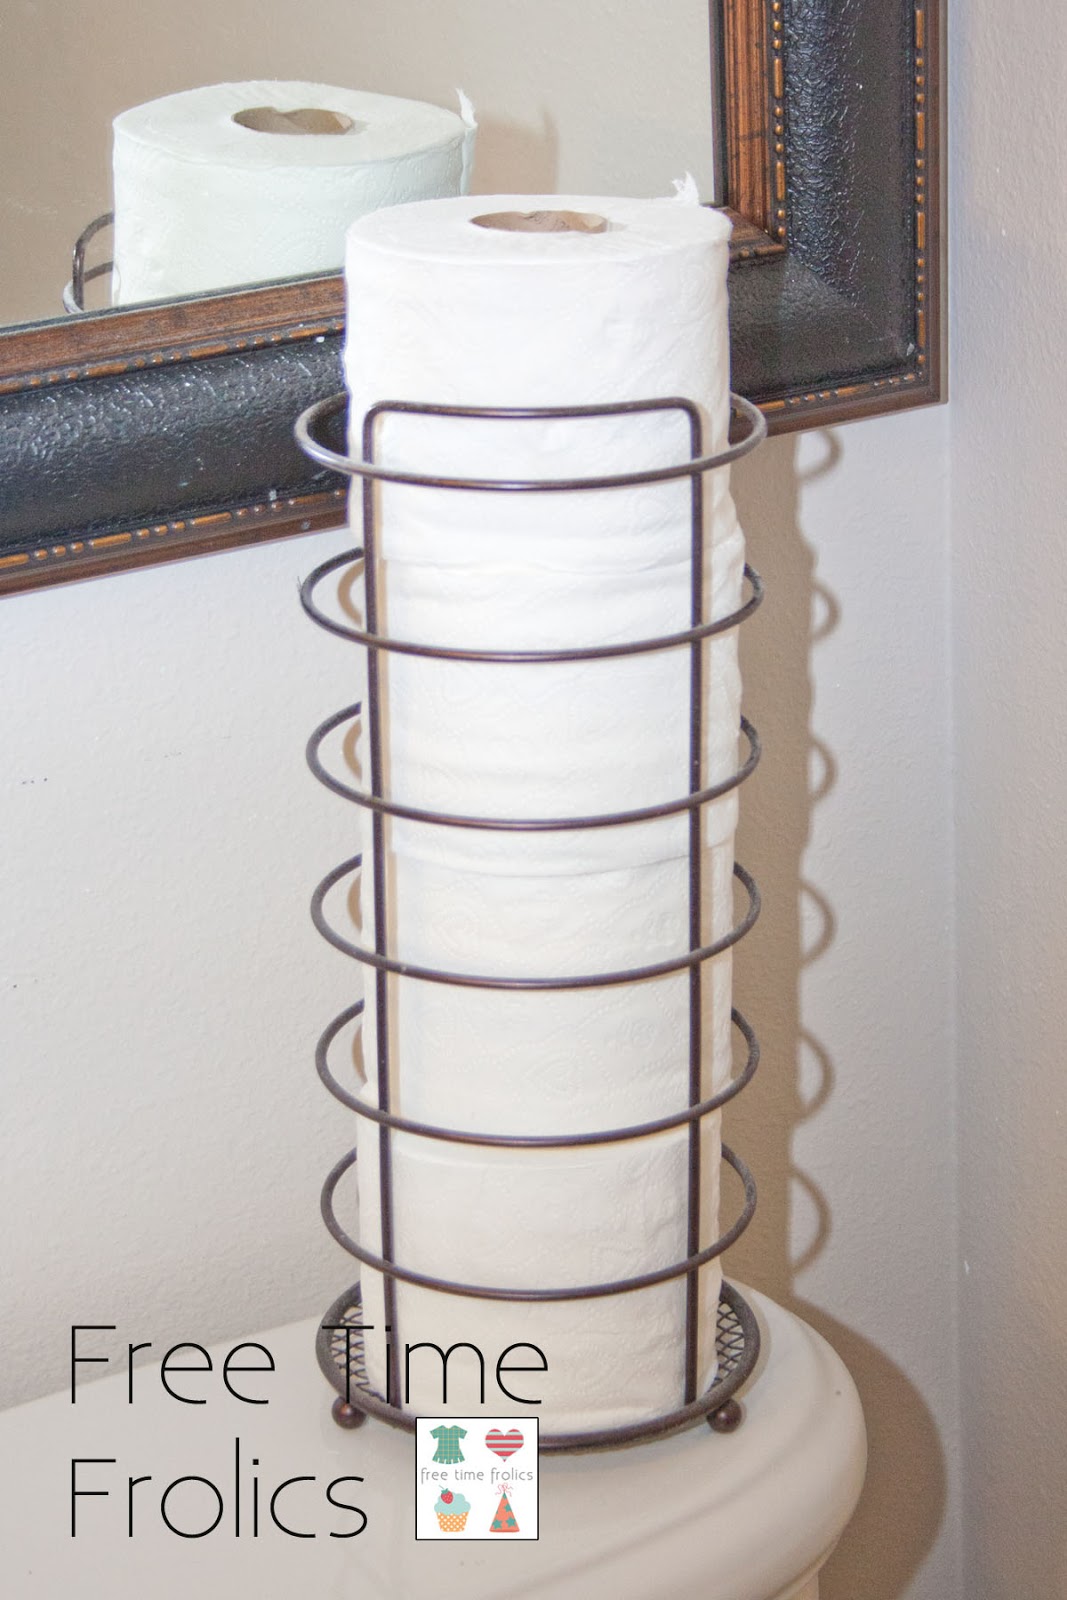
So one day I was perusing my local Ross and found this… A toilet paper holder tower.

An answer to my problem. But it created a new problem. Every once in a while a boy uses my Master Bath. And sometime their aim isn’t so great. Can you see my problem?? I kind of have issues. Its like not lifting the toilet seat or not putting it down. Just plain gross. ( I have a printable for that issue click here)
So I came up with this quick and easy project to remedy the problem.
First you need to pick up a few things:
Toilet paper holder ( I got mine at Ross for under $10)
Decorator fabric to match you bathroom.
Iron on laminate for fabrics I found mine at Walmart
Measure you circumference of your Toilet paper holder and add 1 inch.Measure from top to bottom and add 2 inches.

Cut according to size.
If you are using laminate cover fabric move to the next step. If you are making your own follow the instructions that come with your laminate.

Stitch down your long seam. Ensure it fits around your holder before moving to the next step. Also you don’t want it to tights. It may stretch you fabric and tear the laminate.
Fold over top seam 1/2 inch then another 1/2 inch. Stitch into place. Repeat for the bottom.
Before After

Slide it over the top and your finished.