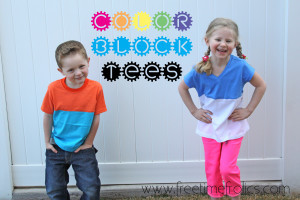

Have you seen the new styles in stores lately? I feel like I am in a flashback. My 12 year old self on Christmas day wearing my color blocked shirt and acid washed hot pink jeans. I was so cute. As I shop for my daughter I see tons of clothing styles and colors I wore back in the day. I keep seeing color blocking and Neon everywhere. Instead of buying all those expensive shirts I decided to make my own. You can make yourself 2 shirts for under $10. Here is how you do it.
Supplies: 2 or 3 T shirts Mix and match them how you want.
matching thread
Start with 2 t shirts. I got mine at Walmart. Only $3.50 each.

.
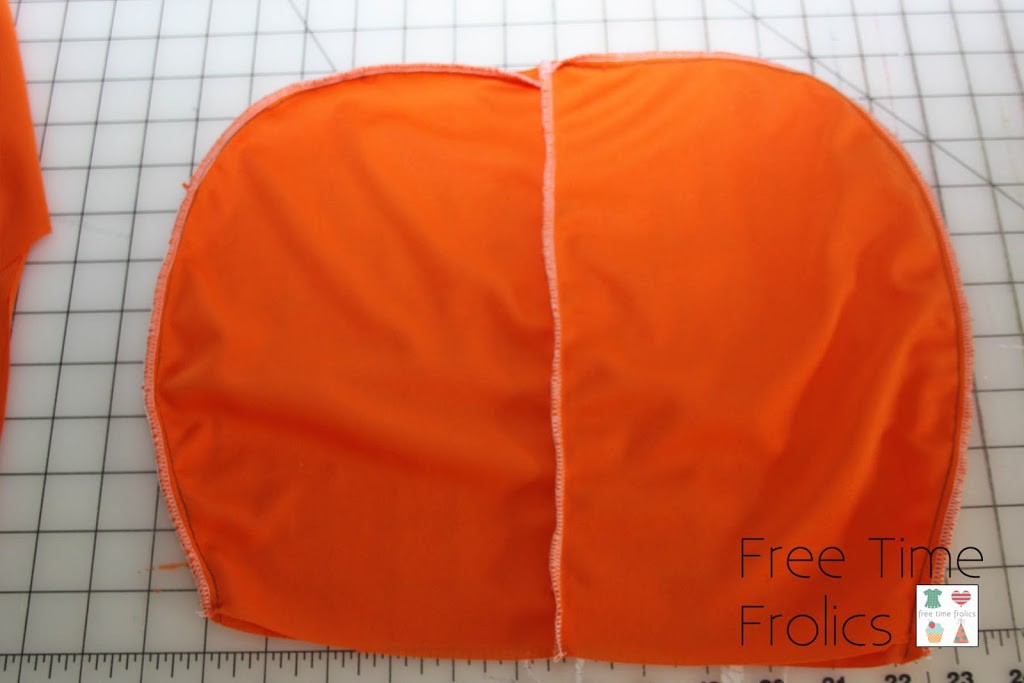
Line up your 2 shirts and cut them just below the sleeves.

Take the top of one shirt and the bottom of the other. Match up the cut edges with right sides together. Stitch together using a long stitch. I also used my serger to seal the seam.

Turn your shirt right sides out. Press your seam to one side. Stitch the seam using a medium to long stitch.

Pair it with your favorite pants and you are ready to go.


I decided to make a boy version and I love it. This little man loved it too!


