Recently a few of my friends and I started talking about Family Easter Traditions. Most of my families are just the normal ones, Easter Baskets, Egg hunt, Nice Dinner. I have been wanting to start some new ones. I want my kids to associate certain holidays with their beliefs. So I came up with the Secret Easter Bunny. Similar to a Secret Santa but an egg hunt of sorts. My kids can pick out some treats and dollar store toys and find joy in serving and helping others. Christmas only comes once a year, but many families need help year-round. Or do it to surprise a family you know and love.
Starbucks {Knock off} Peppermint Brownies

Tis the season for peppermint brownies! I love these little things. Saturday was my free day from my 8 week healthy challenge. I just had to make them. So I decided to share my recipe with all of you. These are just like the Starbucks peppermint brownies. So yummy! Warning you will need to find someone to share these with or you will eat them all. Also I recommend a tall glass of milk!
Discovering your style in(in 7 days or less) E-book

Do you ever think to yourself “I need a new look?” You rummage through your closet and can’t find anything cute to wear? Or anything that fits well? This is me everyday. I struggle to find clothes that make me feel good about myself and have the right fit. I have a closet full of clothes and nothing to wear! Well look no further.
I have had the wonderful opportunity to have an exclusive look at the new E-book, Discovering your style in 7 days or less by Ashley over at Flats to Flip Flops.

“Whether you are a world traveler, a mom on the go, or a super business woman, we all love dressing in clothes that make us feel like ourselves-clothes that tell the world a little something about us without us ever having to open our mouths.” Discovering your style
She takes you step by step on discovering your style. She includes shopping lists, check lists and assignments to get you on your way to finding your style. I can honestly say I am on my way. I am discovering that I had no idea of my body type and what style was. Thanks Ashley!
Be sure to get your pre sale copy for only $4.99 through March 12! Click on over and pick one up!


Check out the entire post on my blog www.freetimefrolics.com
BBQ Brisket (Recipe)

It’s Brisket season. My family loves Brisket. It is one of those meals we have every so often. More, when I can find it on sale. For St. Patty’s day we usually have corned beef brisket & cabbage just for a change. But when we have brisket any other time we use this recipe. It is delicious. I love that I can prepare it the night before and put it in my crock pot first thing in the morning. It cooks all day and makes your home smell great. It is fall off the bone good! Serve with Garlic mashed potatoes and Grilled asparagus. Yum!
Burlap & Tulips…Springtime Decor

I just love springtime! I love the colors, holidays and the thought of summer just around the corner. Here in Idaho it is still cold. Snow on the ground and more snow is coming. It’s just that time of year. A little gloomy, muddy and grey skies. I need a little spring time decor. What better way to do that than to add some colorful flowers to my front door for under $10!
Let’s talk toilet paper holder covers…
So tell me if this is you. You go to the bathroom for a self imposed time out. You should have been put in time out and hour ago, but alas the kids wouldn’t allow it. You finally get your time out and you realize part way through you are out of toilet paper. Sound familiar??? Then you have to all to one of your kids…to interrupt you time out to bring you some toilet paper. Well your quiet time out is over..
This is a weekly problem at my house. My Master Bath is about the only place I get a little quiet during the day. Maybe 5 minutes a few times a day.
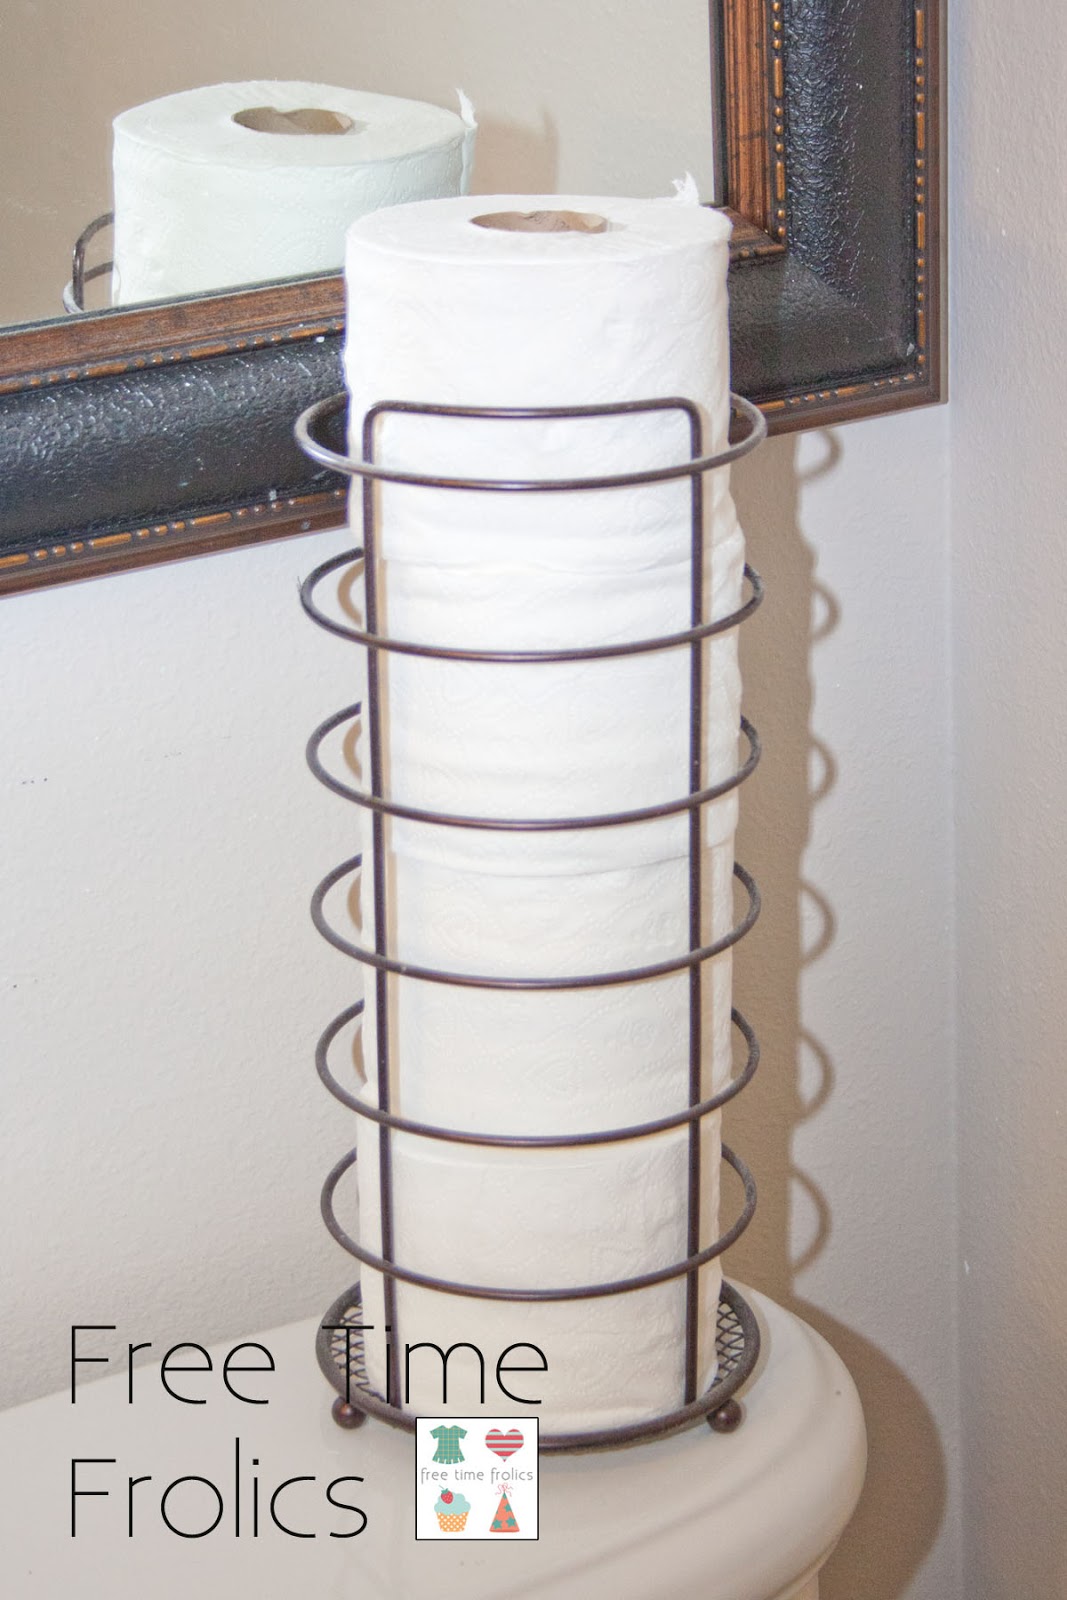
So one day I was perusing my local Ross and found this… A toilet paper holder tower.

An answer to my problem. But it created a new problem. Every once in a while a boy uses my Master Bath. And sometime their aim isn’t so great. Can you see my problem?? I kind of have issues. Its like not lifting the toilet seat or not putting it down. Just plain gross. ( I have a printable for that issue click here)
So I came up with this quick and easy project to remedy the problem.
First you need to pick up a few things:
Toilet paper holder ( I got mine at Ross for under $10)
Decorator fabric to match you bathroom.
Iron on laminate for fabrics I found mine at Walmart
Measure you circumference of your Toilet paper holder and add 1 inch.Measure from top to bottom and add 2 inches.

Cut according to size.
If you are using laminate cover fabric move to the next step. If you are making your own follow the instructions that come with your laminate.

Stitch down your long seam. Ensure it fits around your holder before moving to the next step. Also you don’t want it to tights. It may stretch you fabric and tear the laminate.
Fold over top seam 1/2 inch then another 1/2 inch. Stitch into place. Repeat for the bottom.
Before After

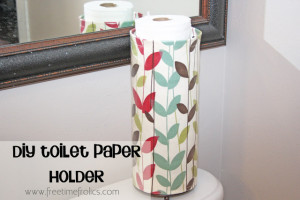
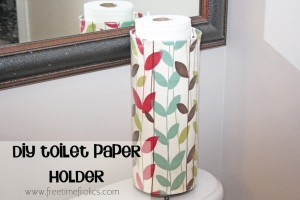
Slide it over the top and your finished.

Let’s talk toilet paper holder covers…
Let’s talk toilet paper…So tell me if this is you. You go to the bathroom for a self imposed time out. You should have been put in time out and hour ago, but alas the kids wouldn’t allow it. You finally get your time out and you realize part way through you are out of toilet paper. Sound familiar??? Then you have to all to one of your kids…to interrupt you time out to bring you some toilet paper. Well your quiet time out is over..
This is a weekly problem at my house. My Master Bath is about the only place I get a little quiet during the day. Maybe 5 minutes a few times a day.
So one day I was perusing my local Ross and found this… A toilet paper holder tower.

An answer to my problem. But it created a new problem. Every once in a while a boy uses my Master Bath. And sometime their aim isn’t so great. Can you see my problem?? I kind of have issues. Its like not lifting the toilet seat or not putting it down. Just plain gross. ( I have a printable for that issue click here)
So I came up with this quick and easy project to remedy the problem.

Toilet Paper Tower Cover
First you need to pick up a few things:
Toilet paper holder ( I got mine at Ross for under $10)
Decorator fabric to match you bathroom.
Iron on laminate for fabrics I found mine at Walmart
Measure you circumference of your Toilet paper holder and add 1 inch.Measure from top to bottom and add 2 inches.

Cut according to size.
If you are using laminate cover fabric move to the next step. If you are making your own follow the instructions that come with your laminate.

Stitch down your long seam. Ensure it fits around your holder before moving to the next step. Also you don’t want it to tights. It may stretch you fabric and tear the laminate.
Fold over top seam 1/2 inch then another 1/2 inch. Stitch into place. Repeat for the bottom.
Before After

Slide it over the top and your finished.

Modge Podge Photo Transfer {Vintage Sign}
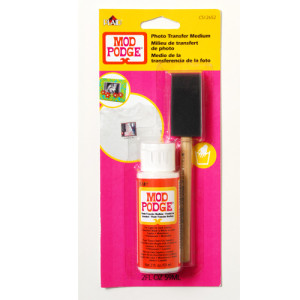
I am so excited to share this new product to you today. I recently had the opportunity to try the new
Modge Podge Photo transfer. After watching a video on the product, I was instantly in love. This stuff can turn any fabric, metal, glass or wood into a craft dream, transfer any photo copied picture into a beautiful art piece. After debating ideas in my head I decided on a sign. I needed a great photo and spot to place it. It’s a good thing I have bloggy friends who love creative things in their homes. Andie from MaybeIwill.com had the perfect spot for me. Her little boys room was in need of a funky Vintage piece of art. Here is what I came up with.

Here is what you need to make this amazing sign.
Craft wood – Mine was from Lowes. It measured 3/8 x 6 x 36
plus 2 back supports 3/8 x 2 x 24
Engineer print from a copy center mine was from Staples. (If your photo has words on it be sure to mirror your image._
Modge Podge Photo Transfer

Next I sanded the long edges and stained the wood
Next cut your print to fit your wood planks. Mine are just shy of 6 inches wide. Then I taped them to the wood with the right side of the paper to the wood. Tape one short end to the board. This helps to keep your image lined up when you apply your photo transfer.
Next apply your photo transfer. Shake your transfer well before starting. Be fairly generous at least 1/8 inch thick. If enough photo transfer is not applied your ink will rub off when removing the paper. You do not want to be able to see the wood coming through. Work one plank at a time. Press image onto photo transfer and plank. Lightly rub into place. Allow to dry for 24 hours.
After drying for 24 hours use a sponge and water and rub on top of paper, Allow water to sit for a few minutes. Begin to rub paper in circular motion. Top of paper with begin to rub off leaving the ink and your photo transfer.
Continue rubbing until all the paper is removed from the boards. Fingers work great. Be careful when removing the paper. Rubbing to hard can cause all the ink to rub off as well.
I allowed the planks to dry for a bit before my next step. If you have left paper behind letting it dry for a bit will show you if you need to remove any leftover paper.
Next I used some red chalk to color in the banner that says Red Sox. After the transfer it was a little hard to see. (The picture in black and white was a little hard to see to begin with) I thought adding a little pop of color would look great.

I sanded my edges one more time to rough things up a bit and smooth out the edges. I finished off my sign with a layer of Modge Podge Matte finish to seal the picture and the chalk.
Assemble the wood slats in order and screw it all together. I add hanging tabs to the back and hung it up. I love how it turned out. After it was all done Andie and I just wanted to sit and stare at it all day. It looks amazing on the wall. I am so pleased how this turned out. I am now contemplating my next project with this wonderful stuff!
This post was written as part of a campaign with The Blueprint Social. All opinions are my own.

Check out the entire post on my blog www.freetimefrolics.com
Command Center {Chore Cards}
While building my command center I thought “What is a command center with out chore cards for the kiddos?” They were very simple to make and my kids like to use them. It takes the guess work out of what is expected when doing chores.

I started buy making my chore cards in Microsoft Word. {Really advanced I know.} I made 4 to a page. I tried to make the card lists in logical order of the chore being done. Here is an example.
Bathroom:
clean mirror
clear & wipe counter
scrub toilet & wipe down toilet bowl
sweep floor
mope floor
take out trash
I teach my kids to start with the mirror and end with the floor so they only need to use 1 cleaning towel.
My boys have a group of chores that they do each week. Then they switch on Monday Mornings. These chores include dishes (load and put away), vacuuming, bathrooms and garbage. Some are done everyday and others are once a week. It just depends on the chore. I also included a check list for their bedroom. Just in case they have a question on what needs to be cleaned.
If you would like to print my chore cards for your kids please do. I printed mine in 2 different colors so my boys don’t get confused who’s chores are done. Click on the link for a printable copy.
Chore Card 1 Chore Card 2 Chore Card 3
Next I cut them up and laminated them. This makes it so your kids can check off the chore with a dry erase marker when they get their chores done. It always feels good to check off a finished chore. It also makes it easy for Dad to check that chores are done!
Many of my chores come from a book called the Parenting Breakthrough by Merrilee Boyack. She is the amazing mother of 4 boys. If you ever wonder when your kids should start certain chores, which chores or how much to pay for chores, this book has the answers for you. I love this book to reference as my kids grow up. You will not be disappointed.
Parenting Breakthrough on Amazon
Here is another look at my command center center. The links are below if you want to check them out. For more information on my 5 week meal plan (Yes I plan for 5 weeks, My life is so much easier) please see the link below. I even shared how I do it on a local lifestyle show, KPVI.

For more about my command center check out these links.
Command center
5 Week Meal Rotation Plan
Thanks for visiting. If you have any questions about how I did it please feel free to send me an email or comment. Be sure I can write you back!!
Check out the entire post on my blog www.freetimefrolics.com
10 St. Patrick’s Day projects for your home.

Today I compiled a few Home decor projects for St. Patrick’s Day. Lucky You! I love that you can use anything green, seeds, Christmas ornaments or flowers. Anything goes. So here are just a few to inspire you to create a little green for yourself!

St. Patricks Day Free Printable’s by Free Time Frolics

Painted Vases – by Eighteen 25

St. Patrick’s Day Mantel by Free Time Frolics

Happy Go Lucky Wreath by Miss Lovie
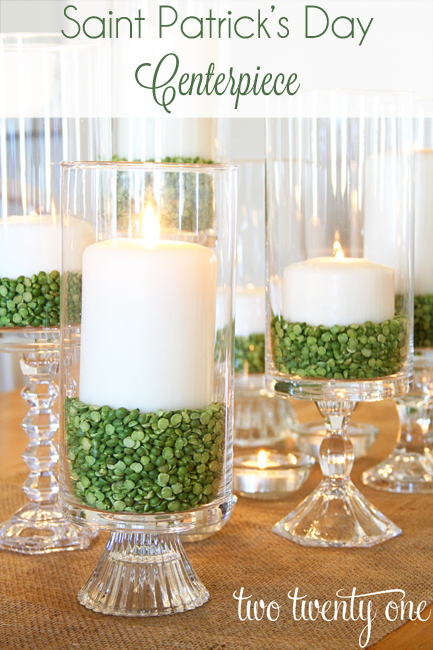
St. Patrick Centerpieces from Two Twenty One
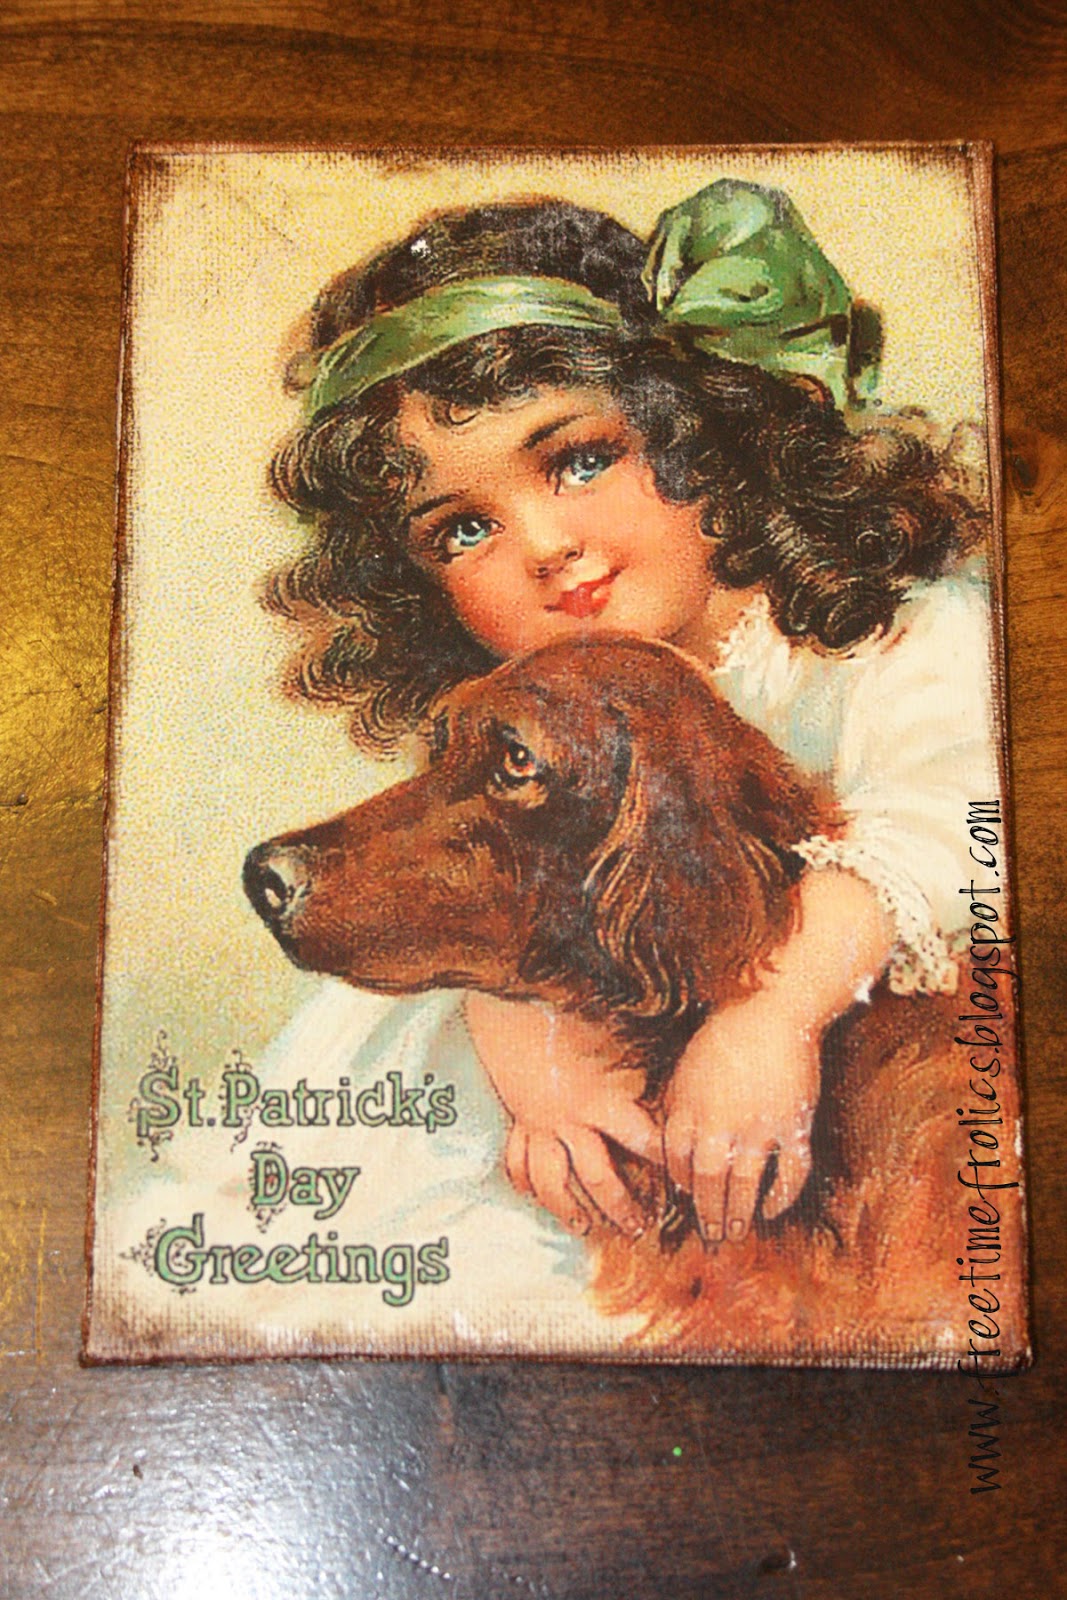
Vintage Postcard by Free Time Frolics

Shamrock Banner by LollyJane

Pot O’ Gold by Free Time Frolics

Pot O’Gold Door by Door Coutour

Lucky Decor by Makedoodle.com


- « Previous Page
- 1
- …
- 28
- 29
- 30
- 31
- 32
- …
- 49
- Next Page »