
 Since I found out I was having a little girl. I wanted to make her a Little Bo Peep Costume. She is finally the ripe old age of 4 so I thought I had better get the costume done before she starts wanting to think of her own costumes. I found this beautiful Little Bo Peep Costume on Etsy one day (Pinned it) and decided it was what my Little Miss was going to be for Halloween.

She makes lots of beautiful costumes year round in her shop.
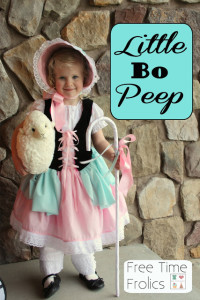
Isn’t is beautiful?? I just loved the colors and the style. Perfect for my Little Miss. She has these beautiful natural blond curls and a sweet little smile, to go with the outfit. The price was a little out of my budget. So off I went to make my own with a little twist.
I found a lamb at the end of the Easter season for $3. I made a bonnet instead of a fabric cap out of Tim Tex, fabric and ribbon. And I used an old outdoor candy cane from Christmas as her crook wrapped in ribbon and fabric flowers. It was the perfect size for her. I used my own peasant styled shirt pattern and made a basic skirt and bloomer pattern. For the vest I used a simple tutorial from Make it – Love it and added the hip plumes myself. Here is how it turned out.


My Little Bo Peep.

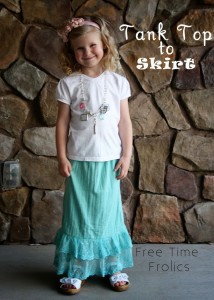
Check out the entire post on my blog www.freetimefrolics.com