Today is so exciting! I have teamed up with some of my favorite bloggy friends to bring you:
7 Blogs
7 Projects
and
7 Times the Fun
All centered around the 4th of July!
Not sure what to bring to that BBQ? Want that perfect red, white and blue decoration? How about what to wear? We have got you covered!
So please sit back, relax(I’m grabbing some swedish fish and red cream soda), and enjoy these 7 fabulous projects!

.jpg&description=7%20blogs%2C%207%20projects-%20all%20for%20the%204th%20of%20July-n%20Food%20Fashion%20%26%20DIY%20via%20Free%20Time%20Frolics%20%23patriotic%20%234thofjuly%20)
1. Melissa of Hollyhocks & Honeybees
2. Emily of The Benson Street
3. Candice of She’s Crafty
4. Ashley of flats to flip flops
5. Adrienne of Free Time Frolics
6. Andie of Maybe I Will
7. Kaylynn of Among the Young

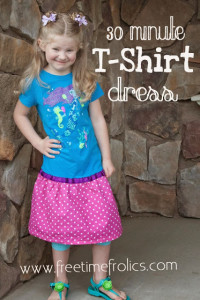
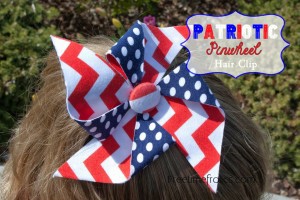
I am always looking for an amazing hair do-dad for the Little Miss. I like unique items that no one else will have. It’s important to me. I live in a small city with few choices. So everyone has the same stuff. So I come up with my own variety! So today I am sharing my quick and easy Patriotic Hair Pinwheels! These beauties are easy to make and require no sewing. Just a little ironing and glue.
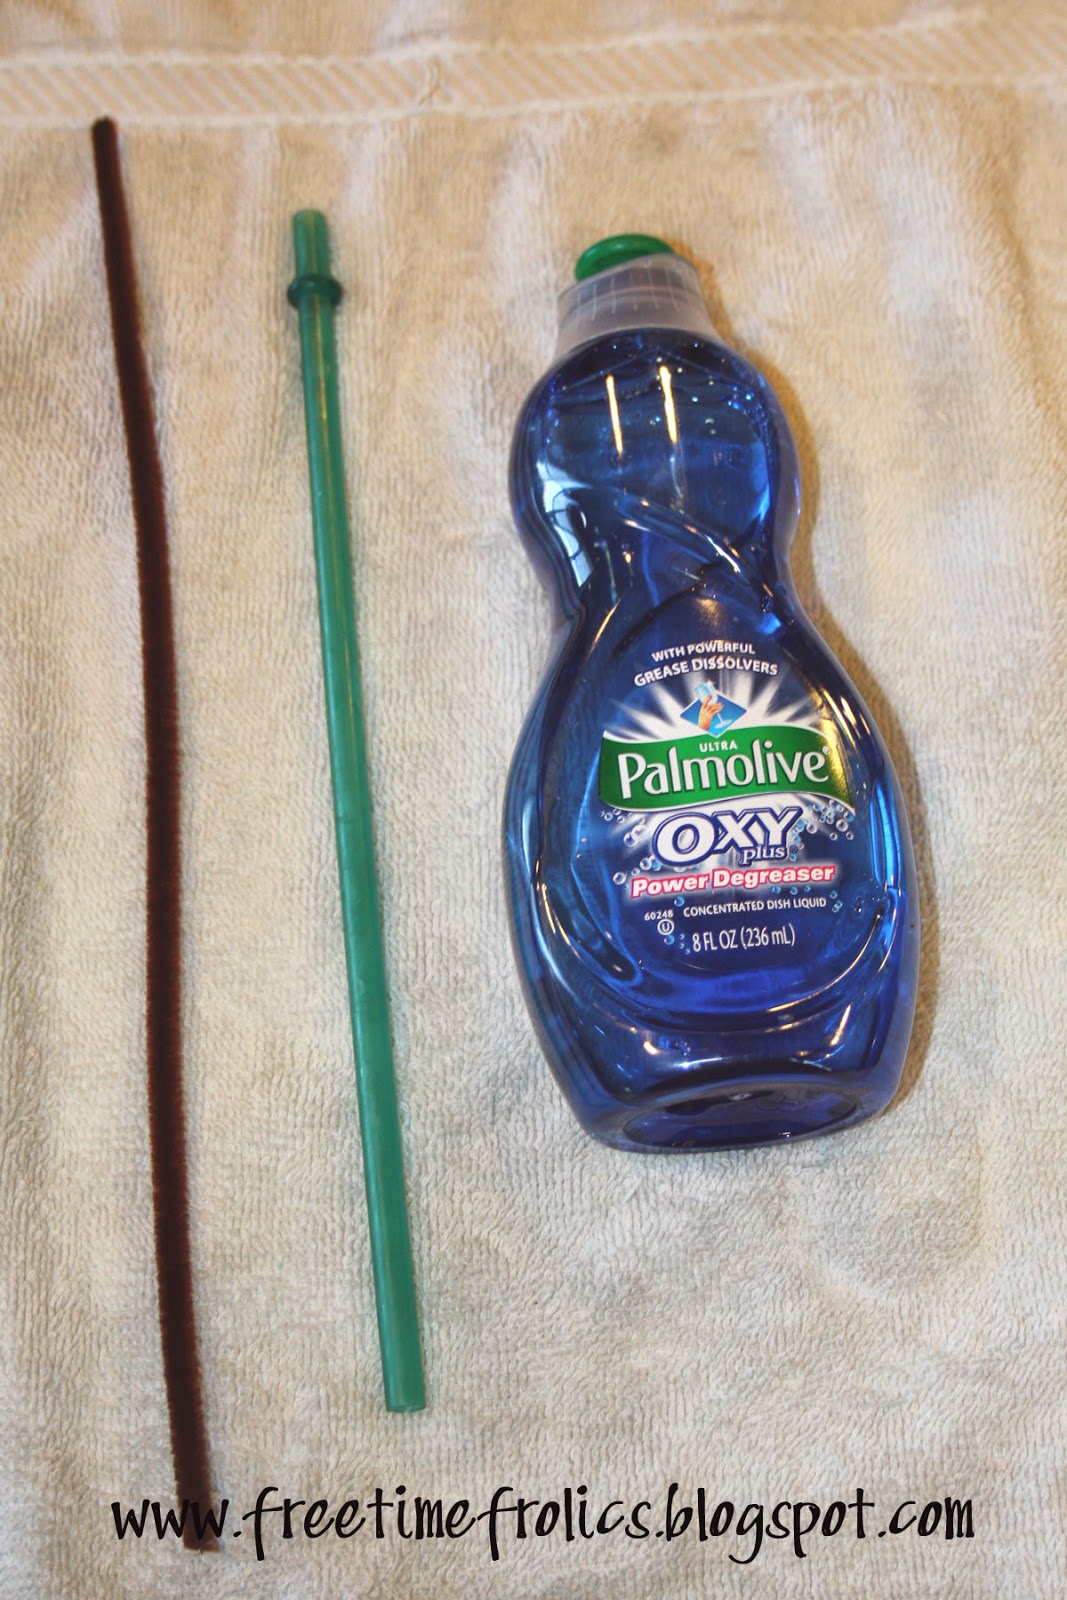
Supplies:
fabric scraps
Peltex or Tim Tex. Fusible on both sides
button
I started with a navy dot and red and white chevron for the 4th.

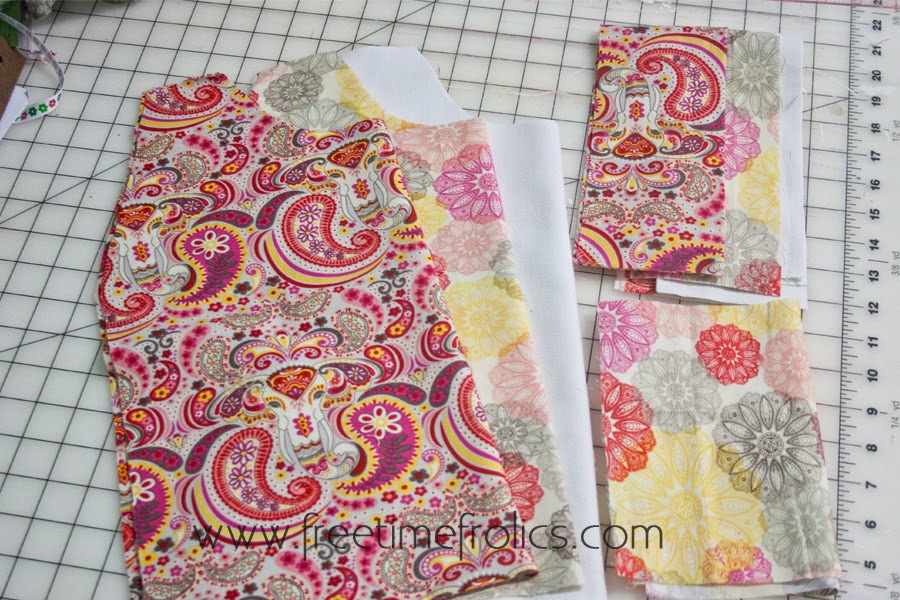
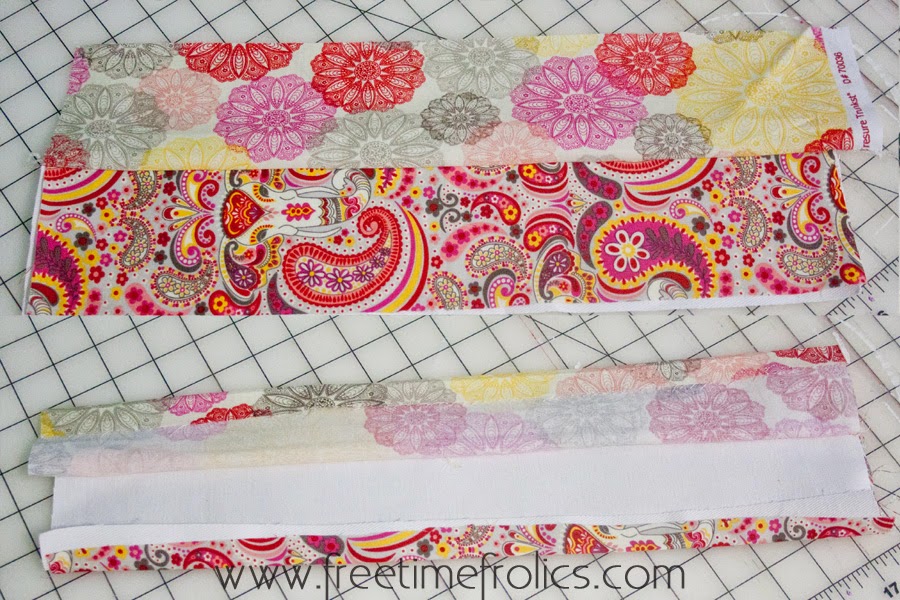
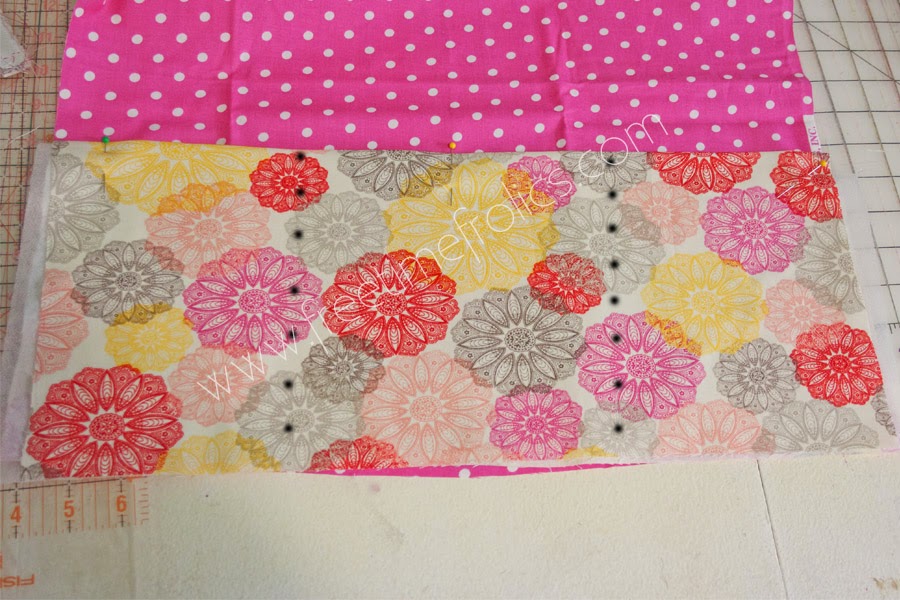
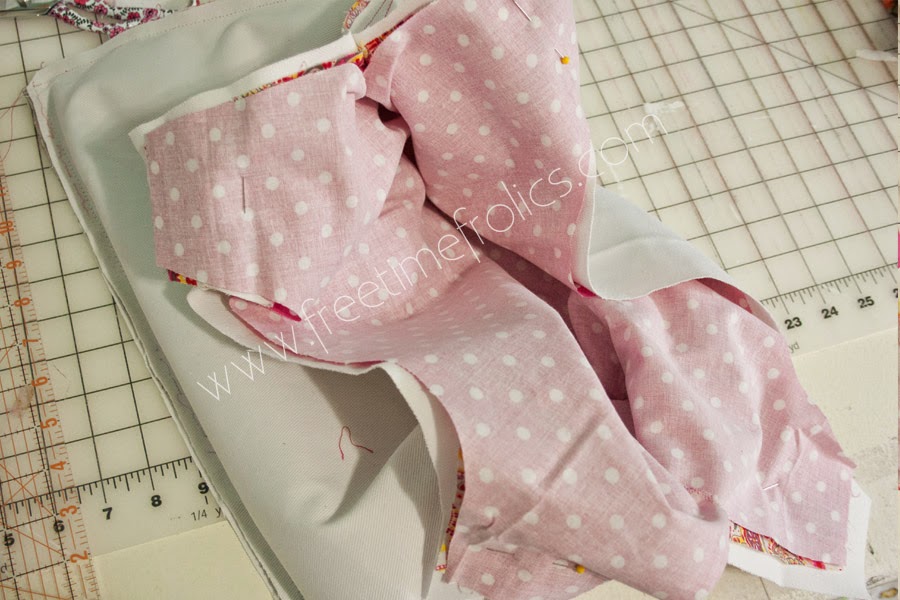
Cut 2 fabrics into squares. Whatever size you want.

Cut a matching square of Heat and bond. Iron on to wrong side of fabric.

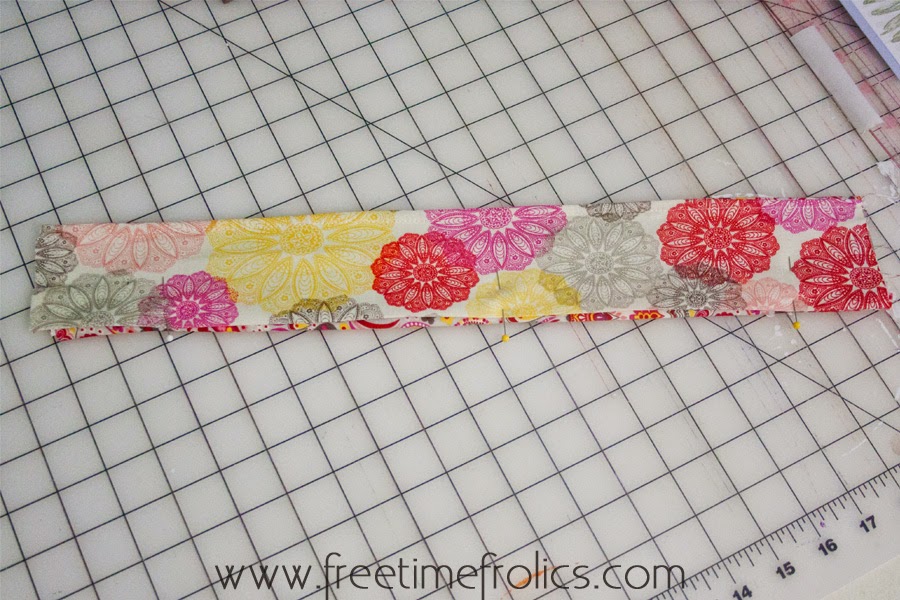
Iron second fabric onto first fabric. Wrong sides will be together. Press.

Draw an “X” with a pencil from corner to corner on the square.

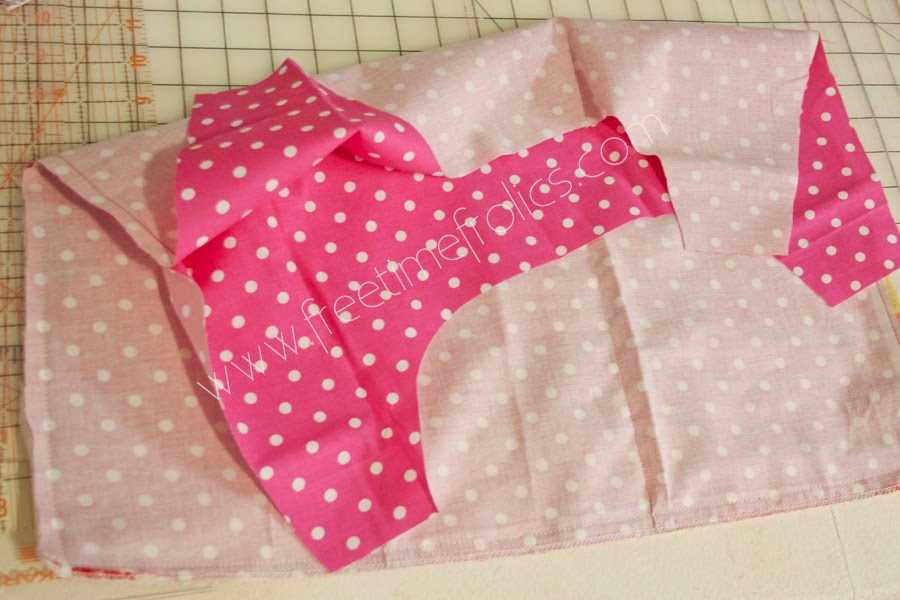
Clip corners about 2 inches. On a larger square you will cut about half way.

Pull 4 corners into center. Either stitch or hot glue corner tips down in the center. If you are making a hair elastic punch a hole in the center of the of the pinwheel.

Next if this is going to be a pin. glue or stitch a button to the center. Then stitch a corsage pin to the back like this one.

If you are making a hair tie. Find a button with a shank on the back or make your own button with a button kit from Joanns. Take a hair elastic, thread it through the shank. Pull one end into the center of the other end and pull tight.

Stick the elastic through the hole of the pinwheel. glue down your button and you are ready to go!
You could also just add a hair clip to the back to add to anything including a headband.
I did my little girls hair in a messy bun on the side for the photo below. I just L-O-V-E it!

For patterns to make your own patriotic outfit check out my shoppe. They are the Knotty Knickers and Smocked Bubble top.
These ideas are amazing. I am so lucky to be apart of this fantastic groups of bloggers! Be sure to check them out! I can’t wait to try these projects out myself! For more 4th of July projects, and crafts check out these posts!
 |
| Firecrackers Tablescape |
 |
| 4th of July Mantel |
 |
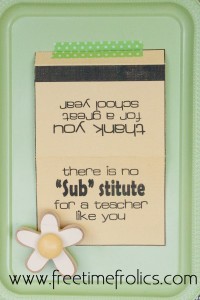
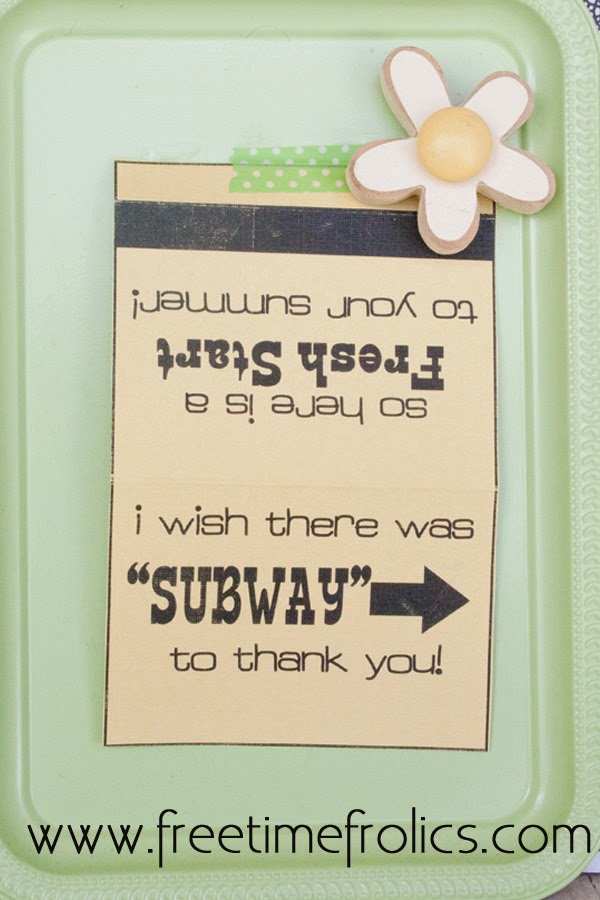
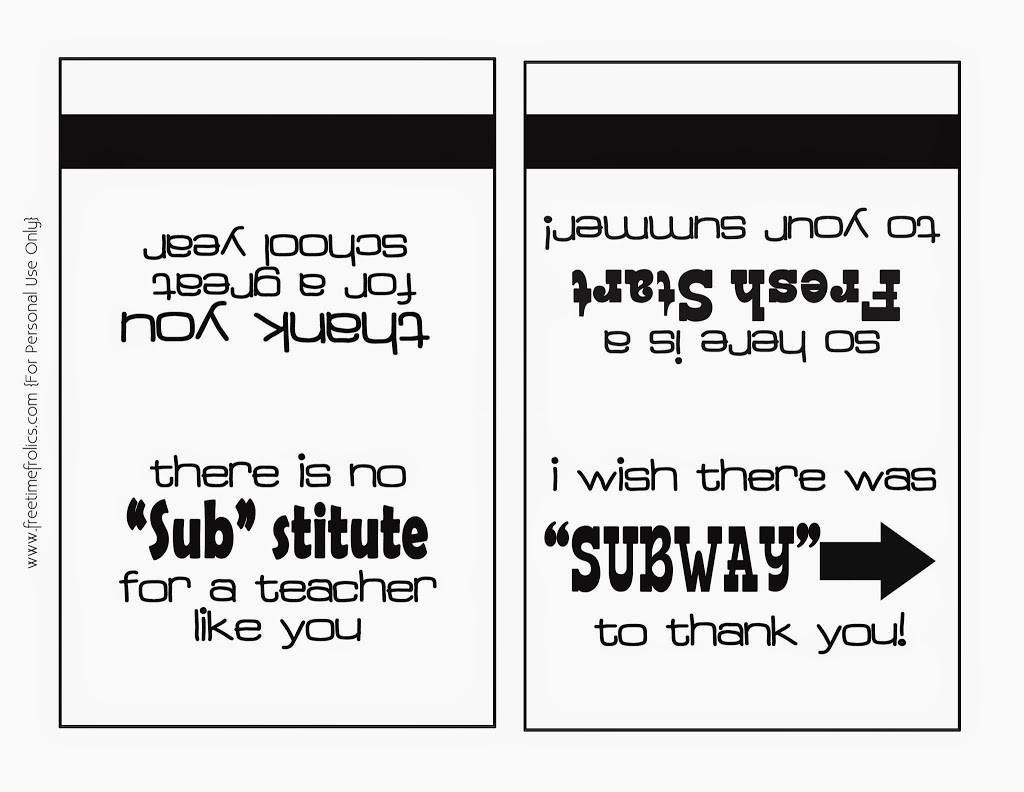
| Subway Art |
 |
| 4th of July Outfit |


.jpg)